Well, it is Easter Monday (only just I know!) and time for Easter Projects Part 2!
It has been a lovely long weekend with hubby and the boys. We have really indulged ourselves doing nothing much in particular, just spending and enjoying time at home with each other and family.
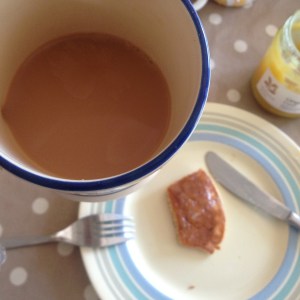
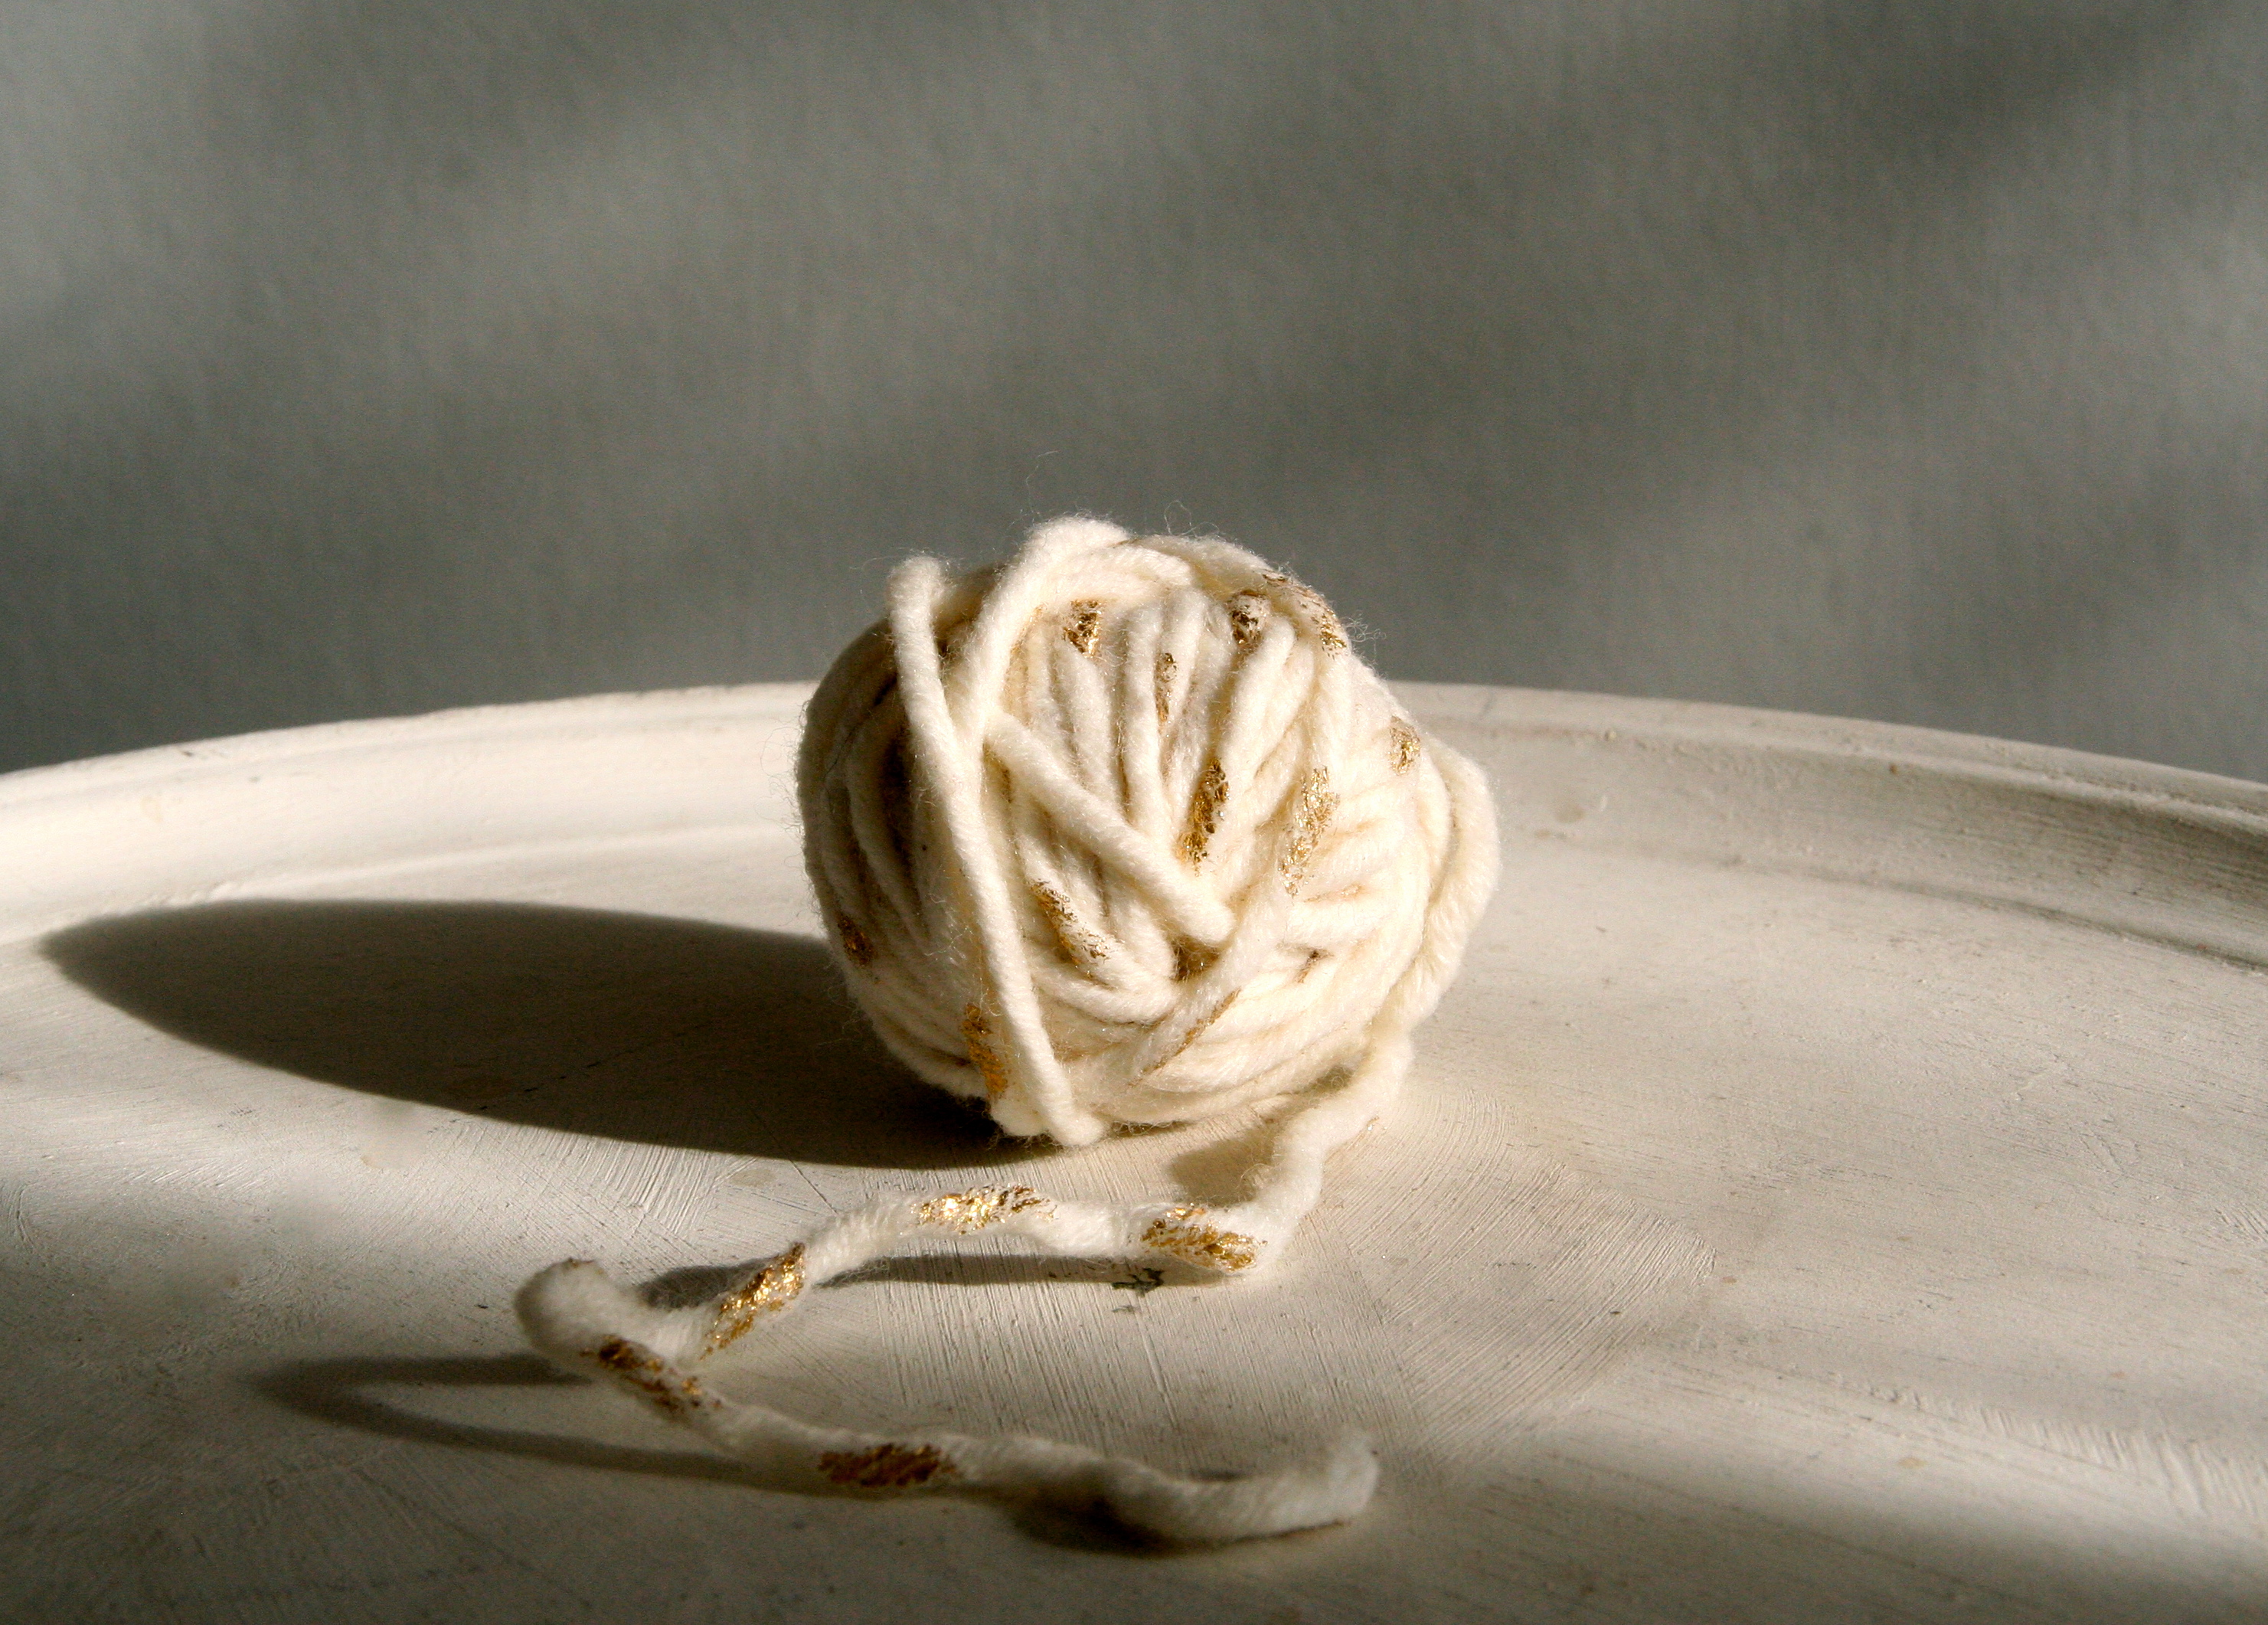
We were lucky enough to have a visit from the Easter Bunny and the children, who I must say got up rather too early, enjoyed searching for the foil covered treasures left by him in our garden. In general though these bank holiday weekend mornings have been easy and everything has just be able to slow down a bit. There’s been lots of lounging too long in pjs, playing with lego, watching films as well as seeing family, making coffee in the machine and Cioccolata Caldo. Yay!
With things moving at this more relaxed pace I even managed to do the below in a moment of inspiration.
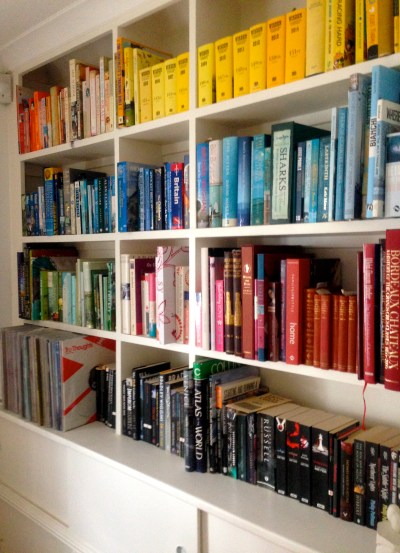
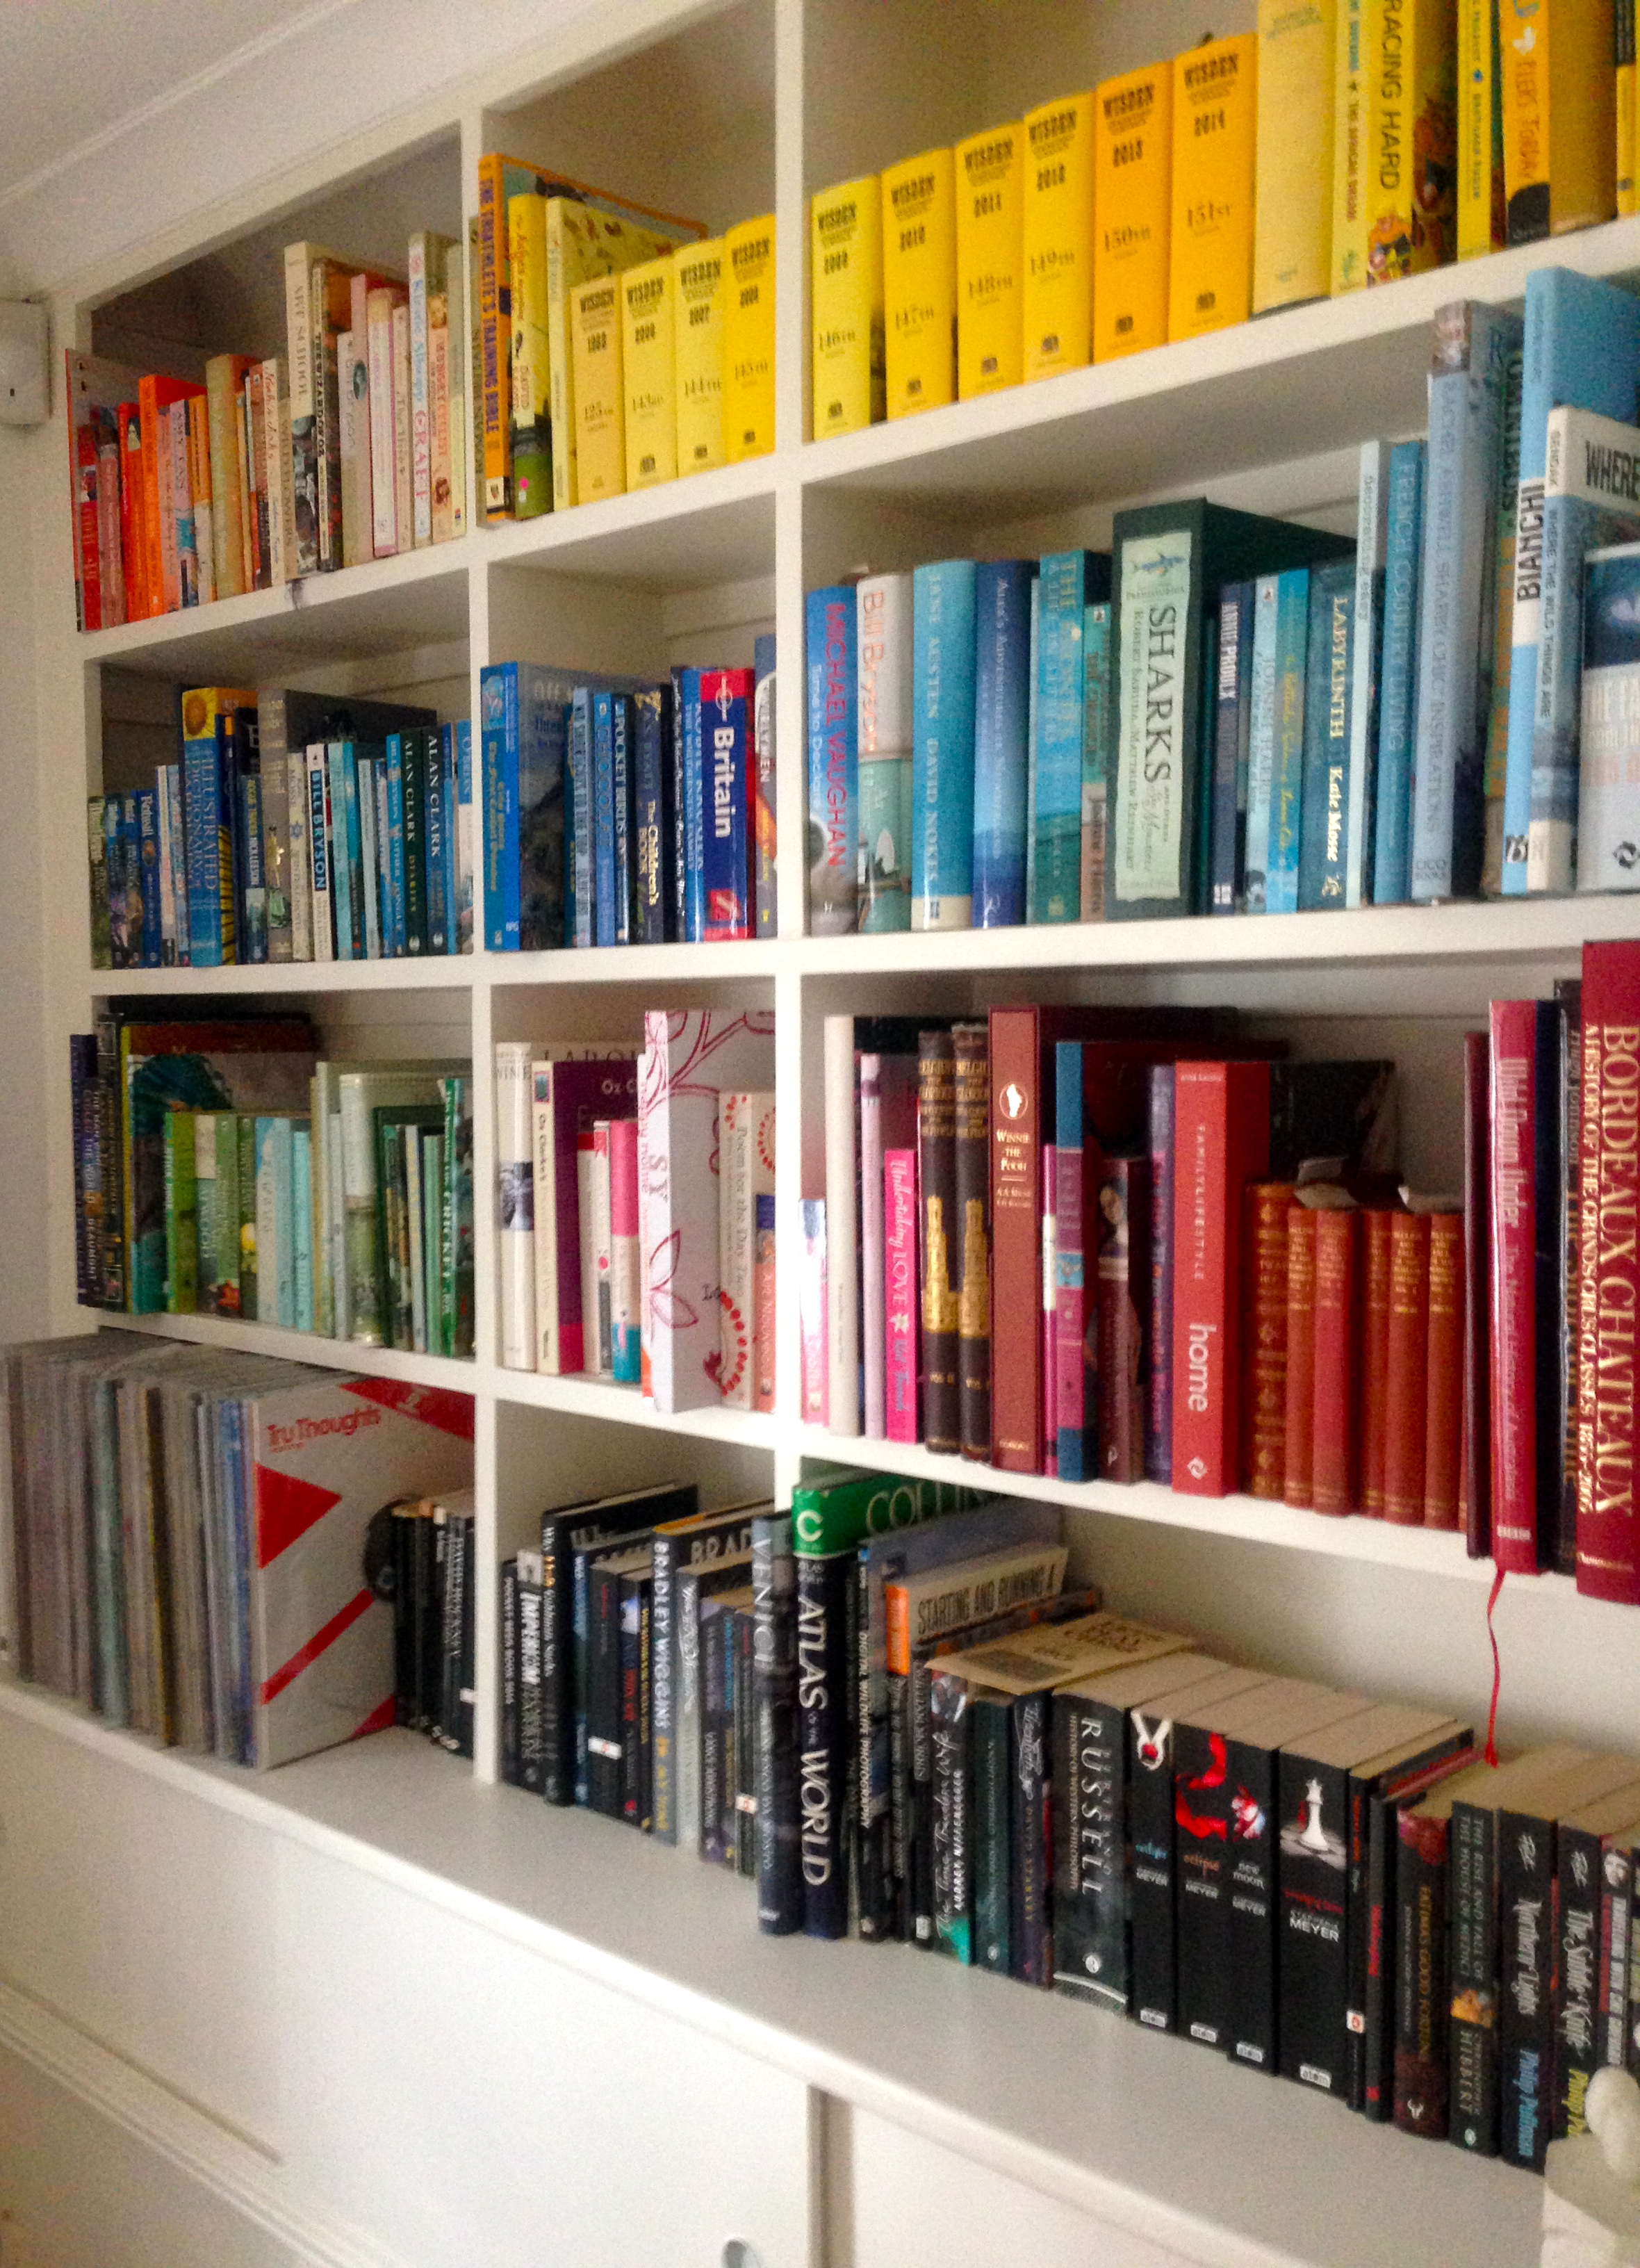
Yes, I rearranged our book shelf by colour!
Maybe its not that practical, but ever since first seeing it on Pinterest (where else!), I have wanted to do this myself.
The process was a little time consuming and there was a point where I almost regetted starting the whole thing, seeing the books all over the living room floor, but now that it is finished I really rather like the effect. We have read most of the books on these shelves so as my other half helpfully pointed out, it’s not such a biggie if we can’t find anything!
It makes me smile when I walk past it.
The shelves are also now dusted, and we took the opportunity to have a bit of a sort out so there is now a bag of books in the hall waiting to be taken to the charity shop. All good I say.
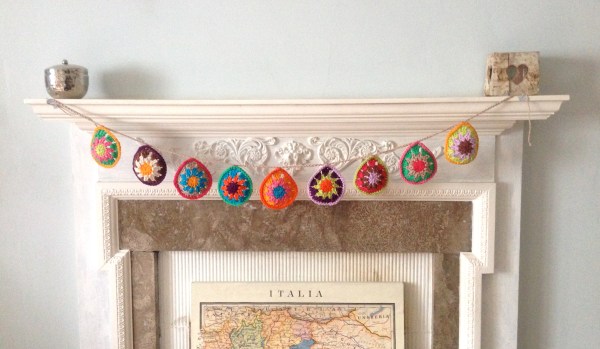
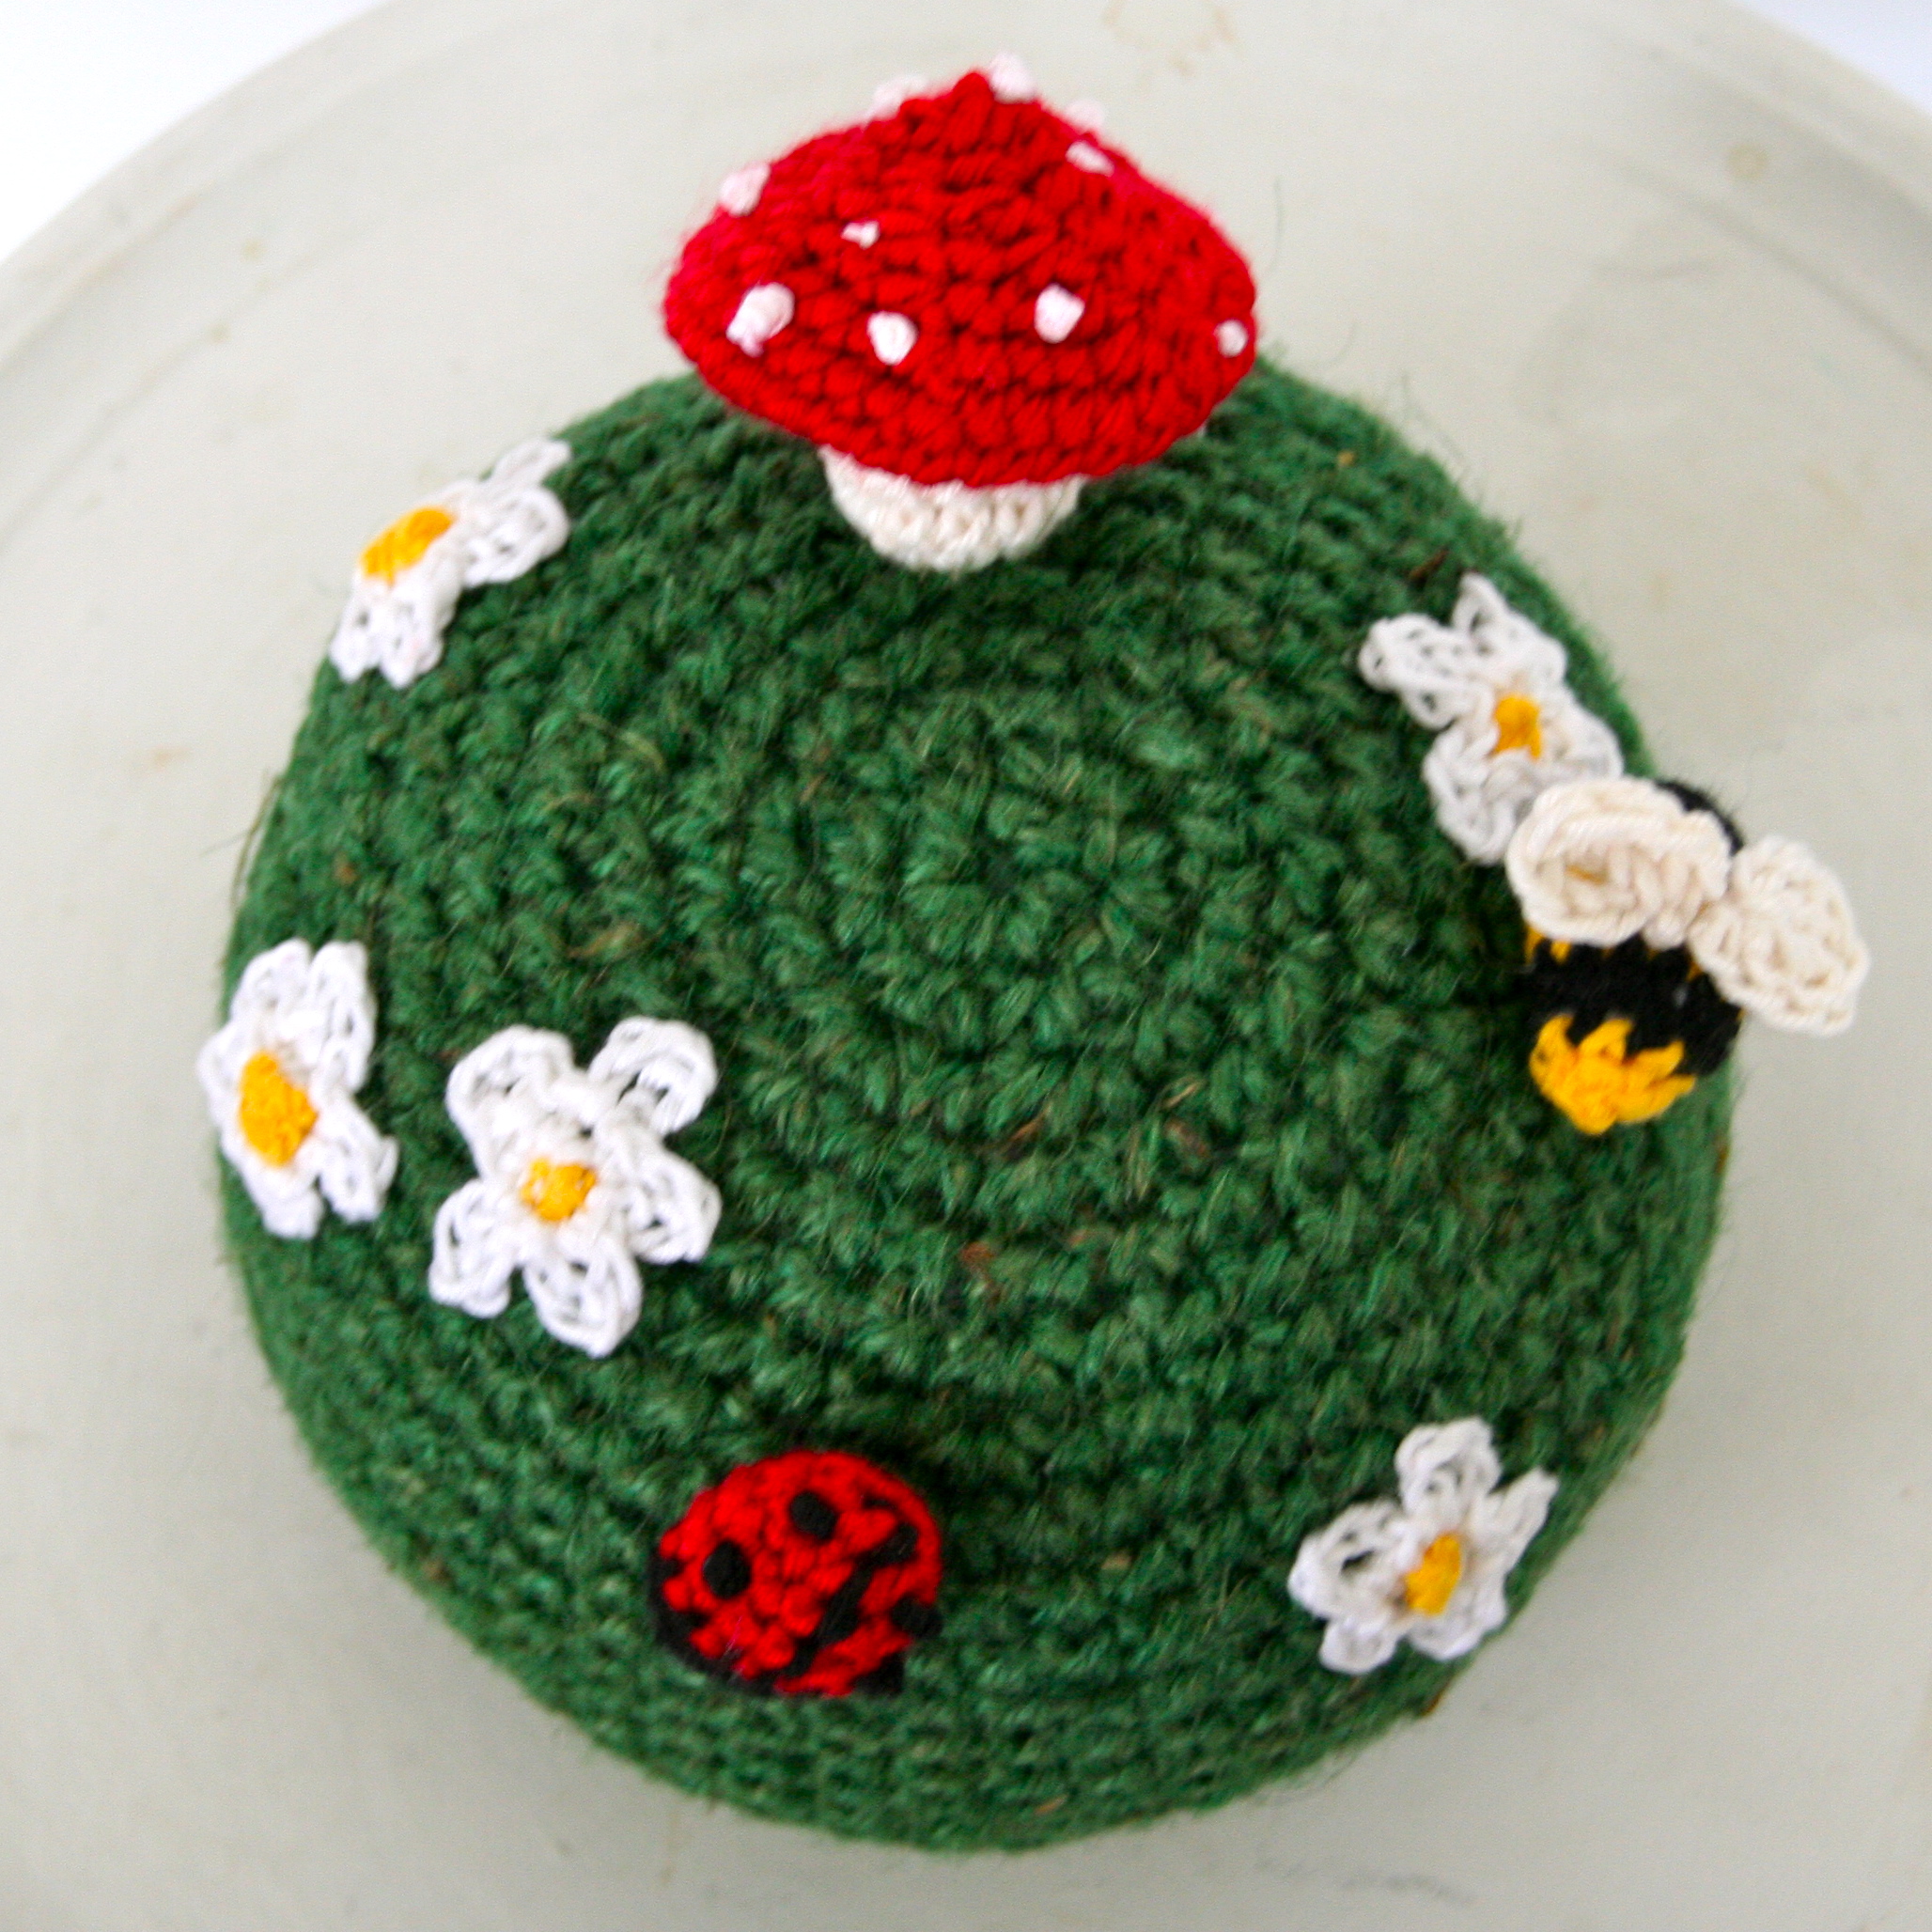
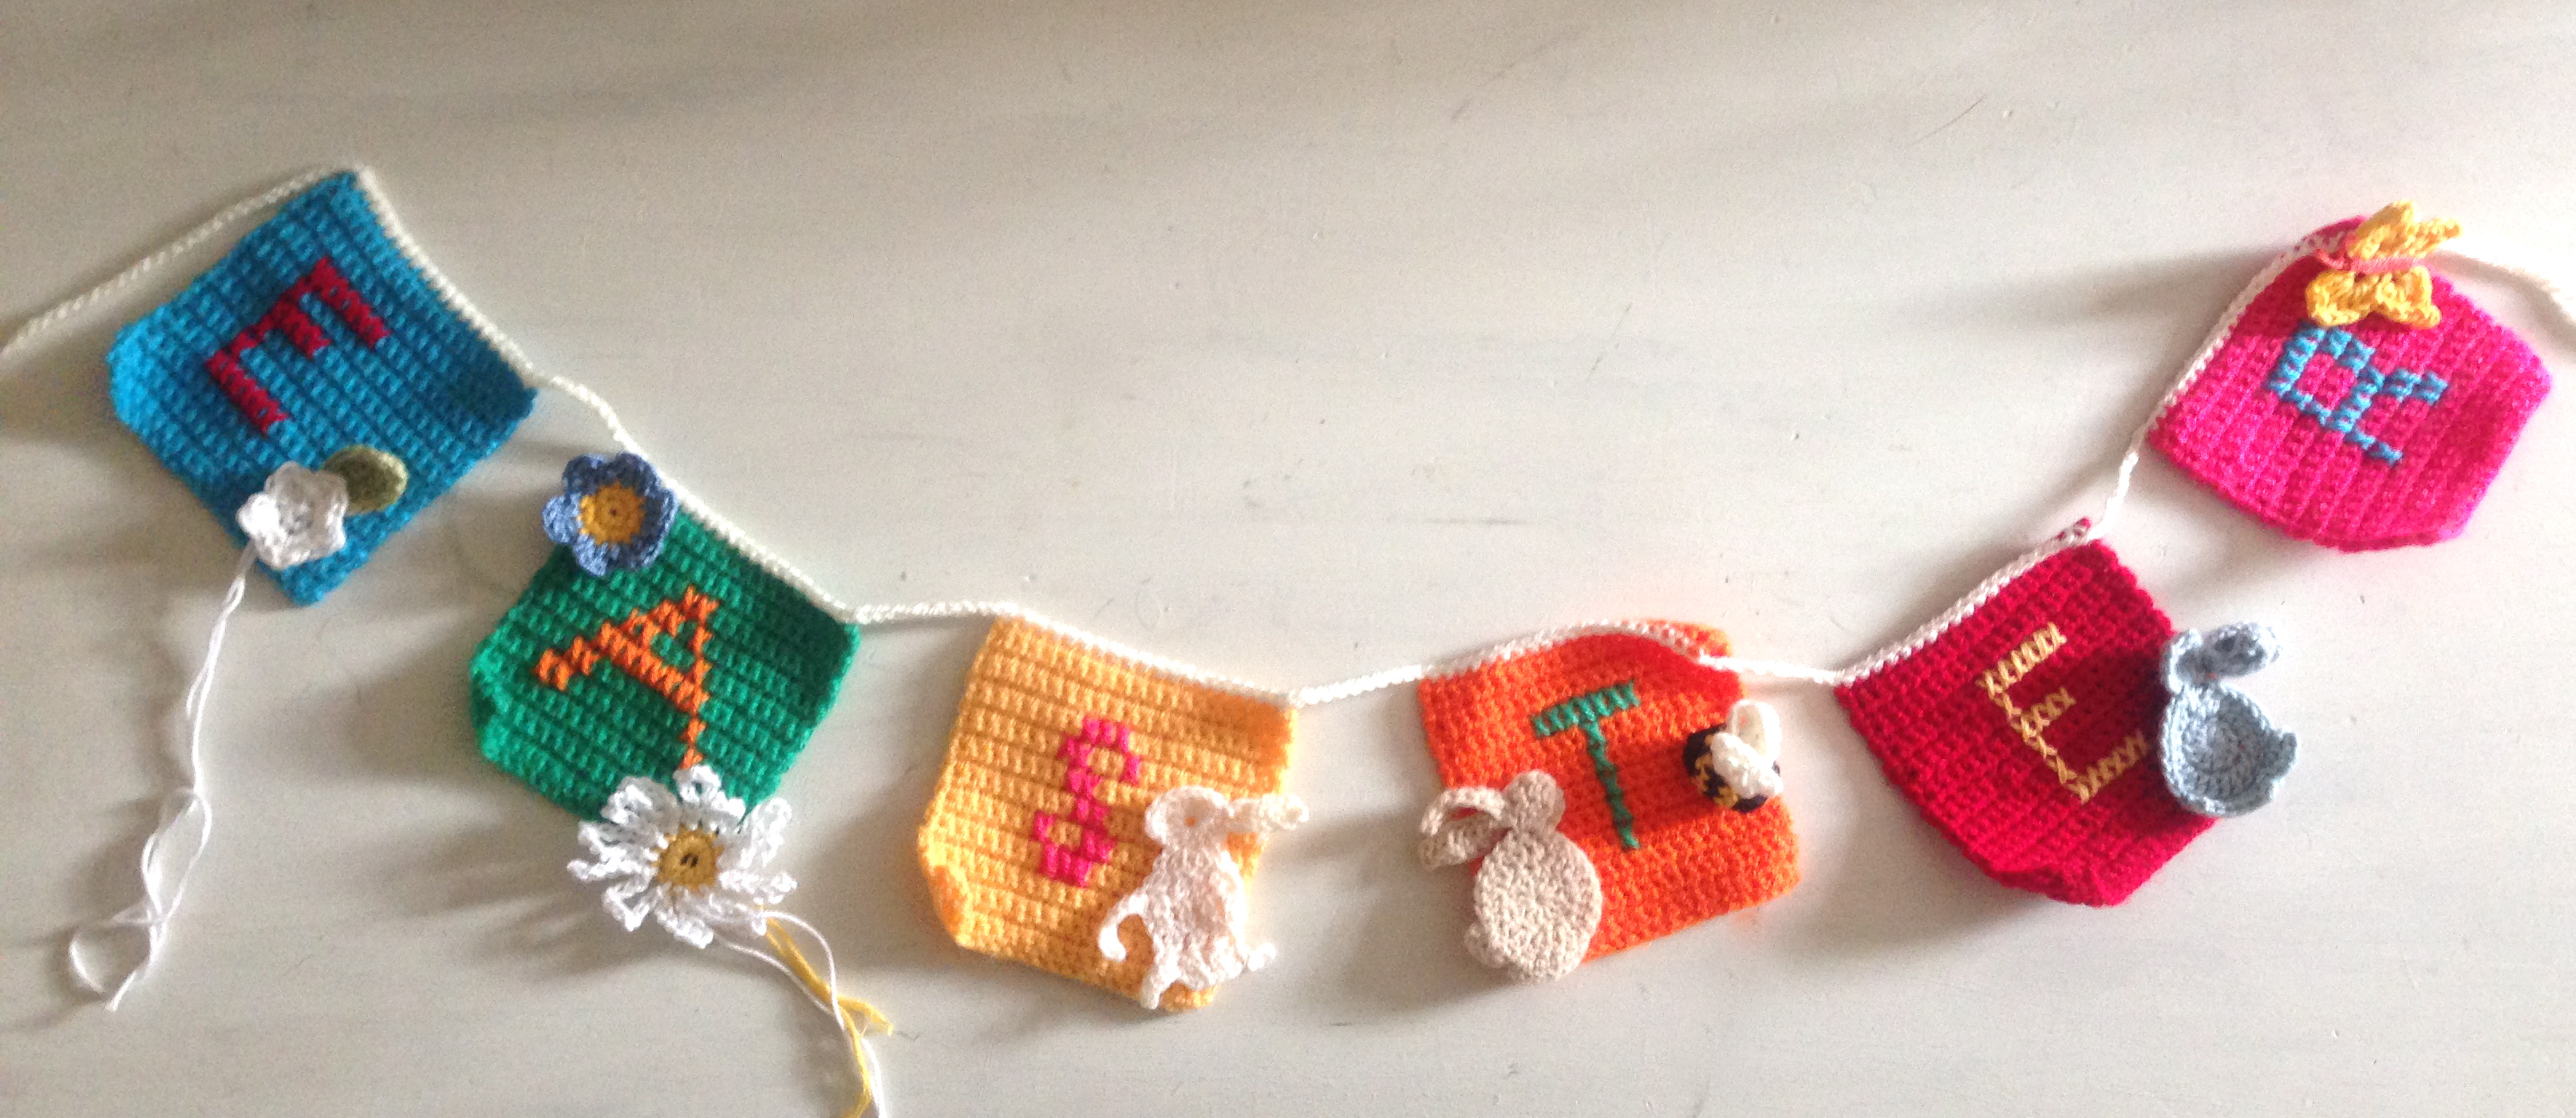
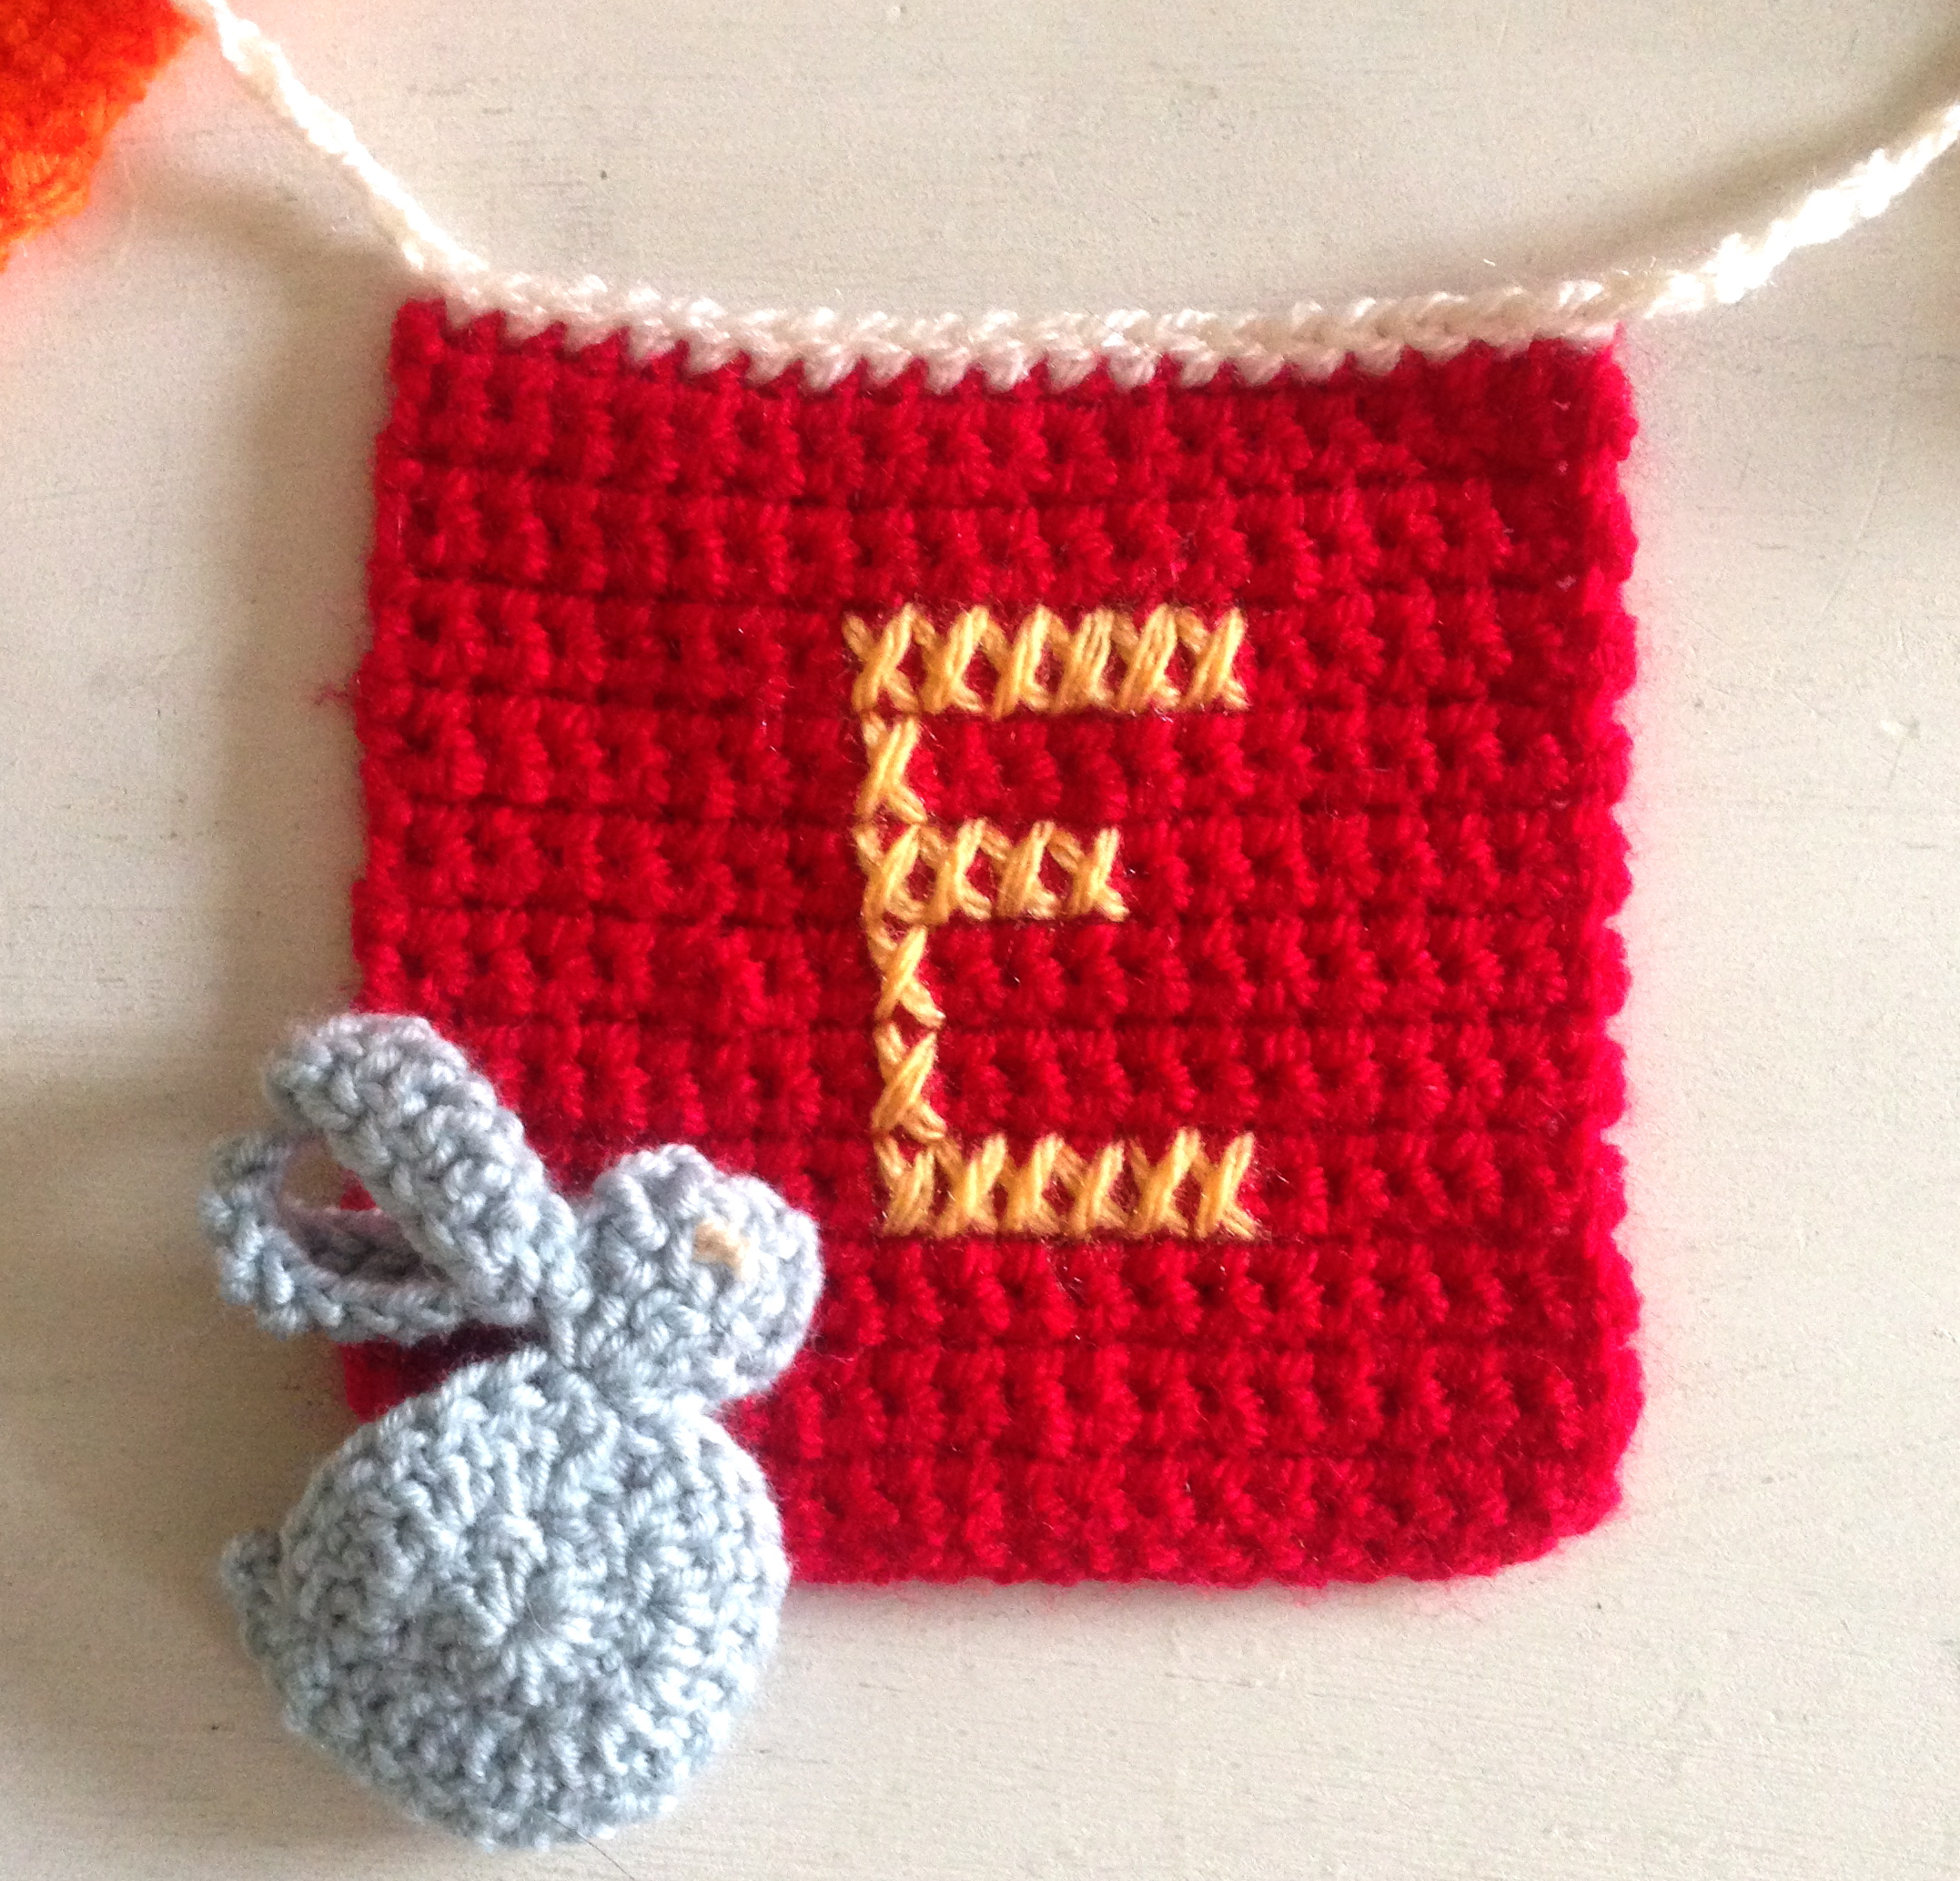
Crochet wise, I had intended to finish this bunting which I started last year!
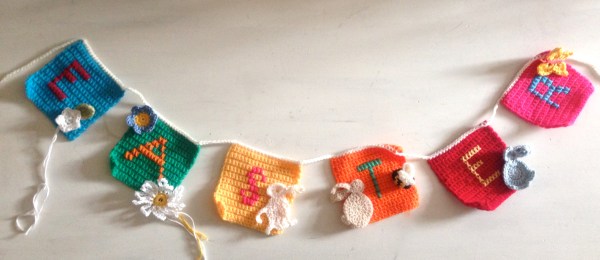
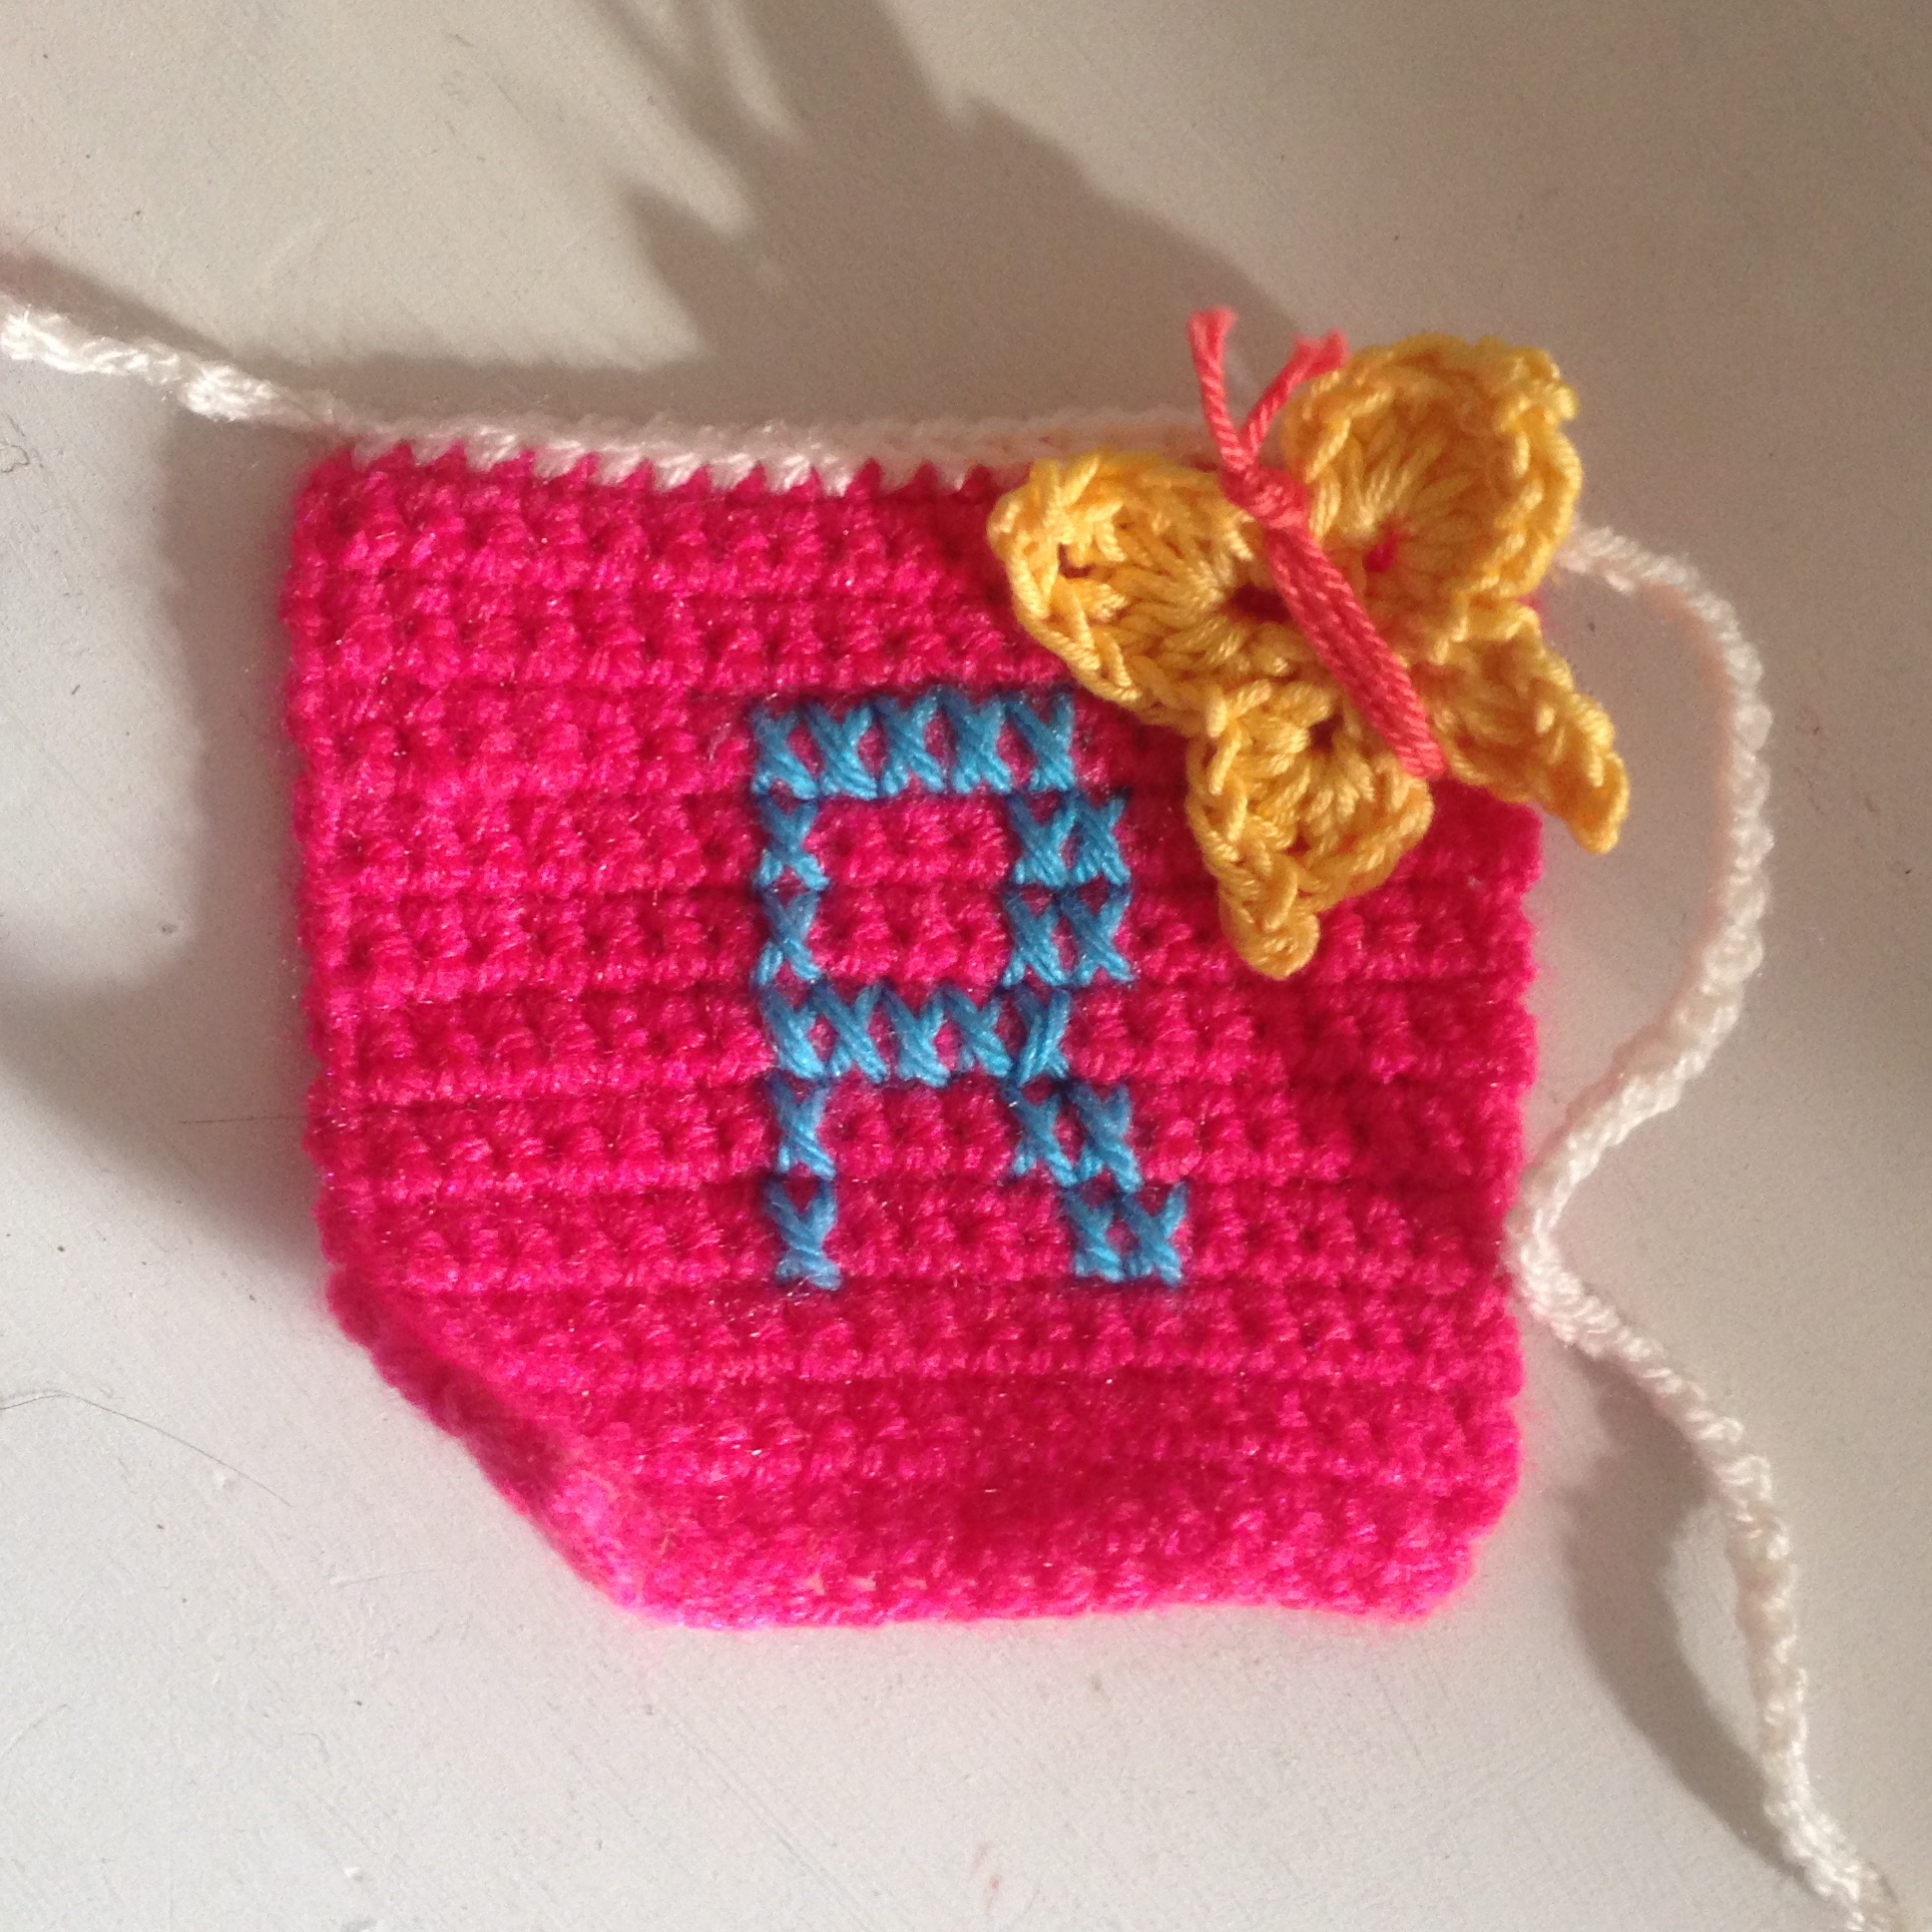
I had the squares, which I worked up in double crochet using StyleCraft Acrylic in rainbow colours and I had even managed to cross stitch the letters on each one, but the appliqué details, well, they are still not quite finished or sewn on. I feel I need to have a bit of a play around with positioning and maybe even swap a few items out as I’m not entirely happy with the current selection but that’s part of the fun. Isn’t it?
Anyway, rather than be late or not show it at all, I decided to include a few photos and links now, and then maybe show the finished project at a later date (probably next Easter!!!!).
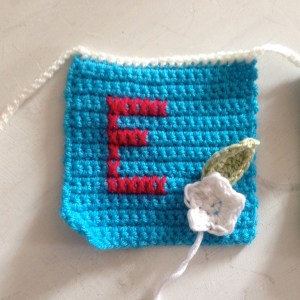
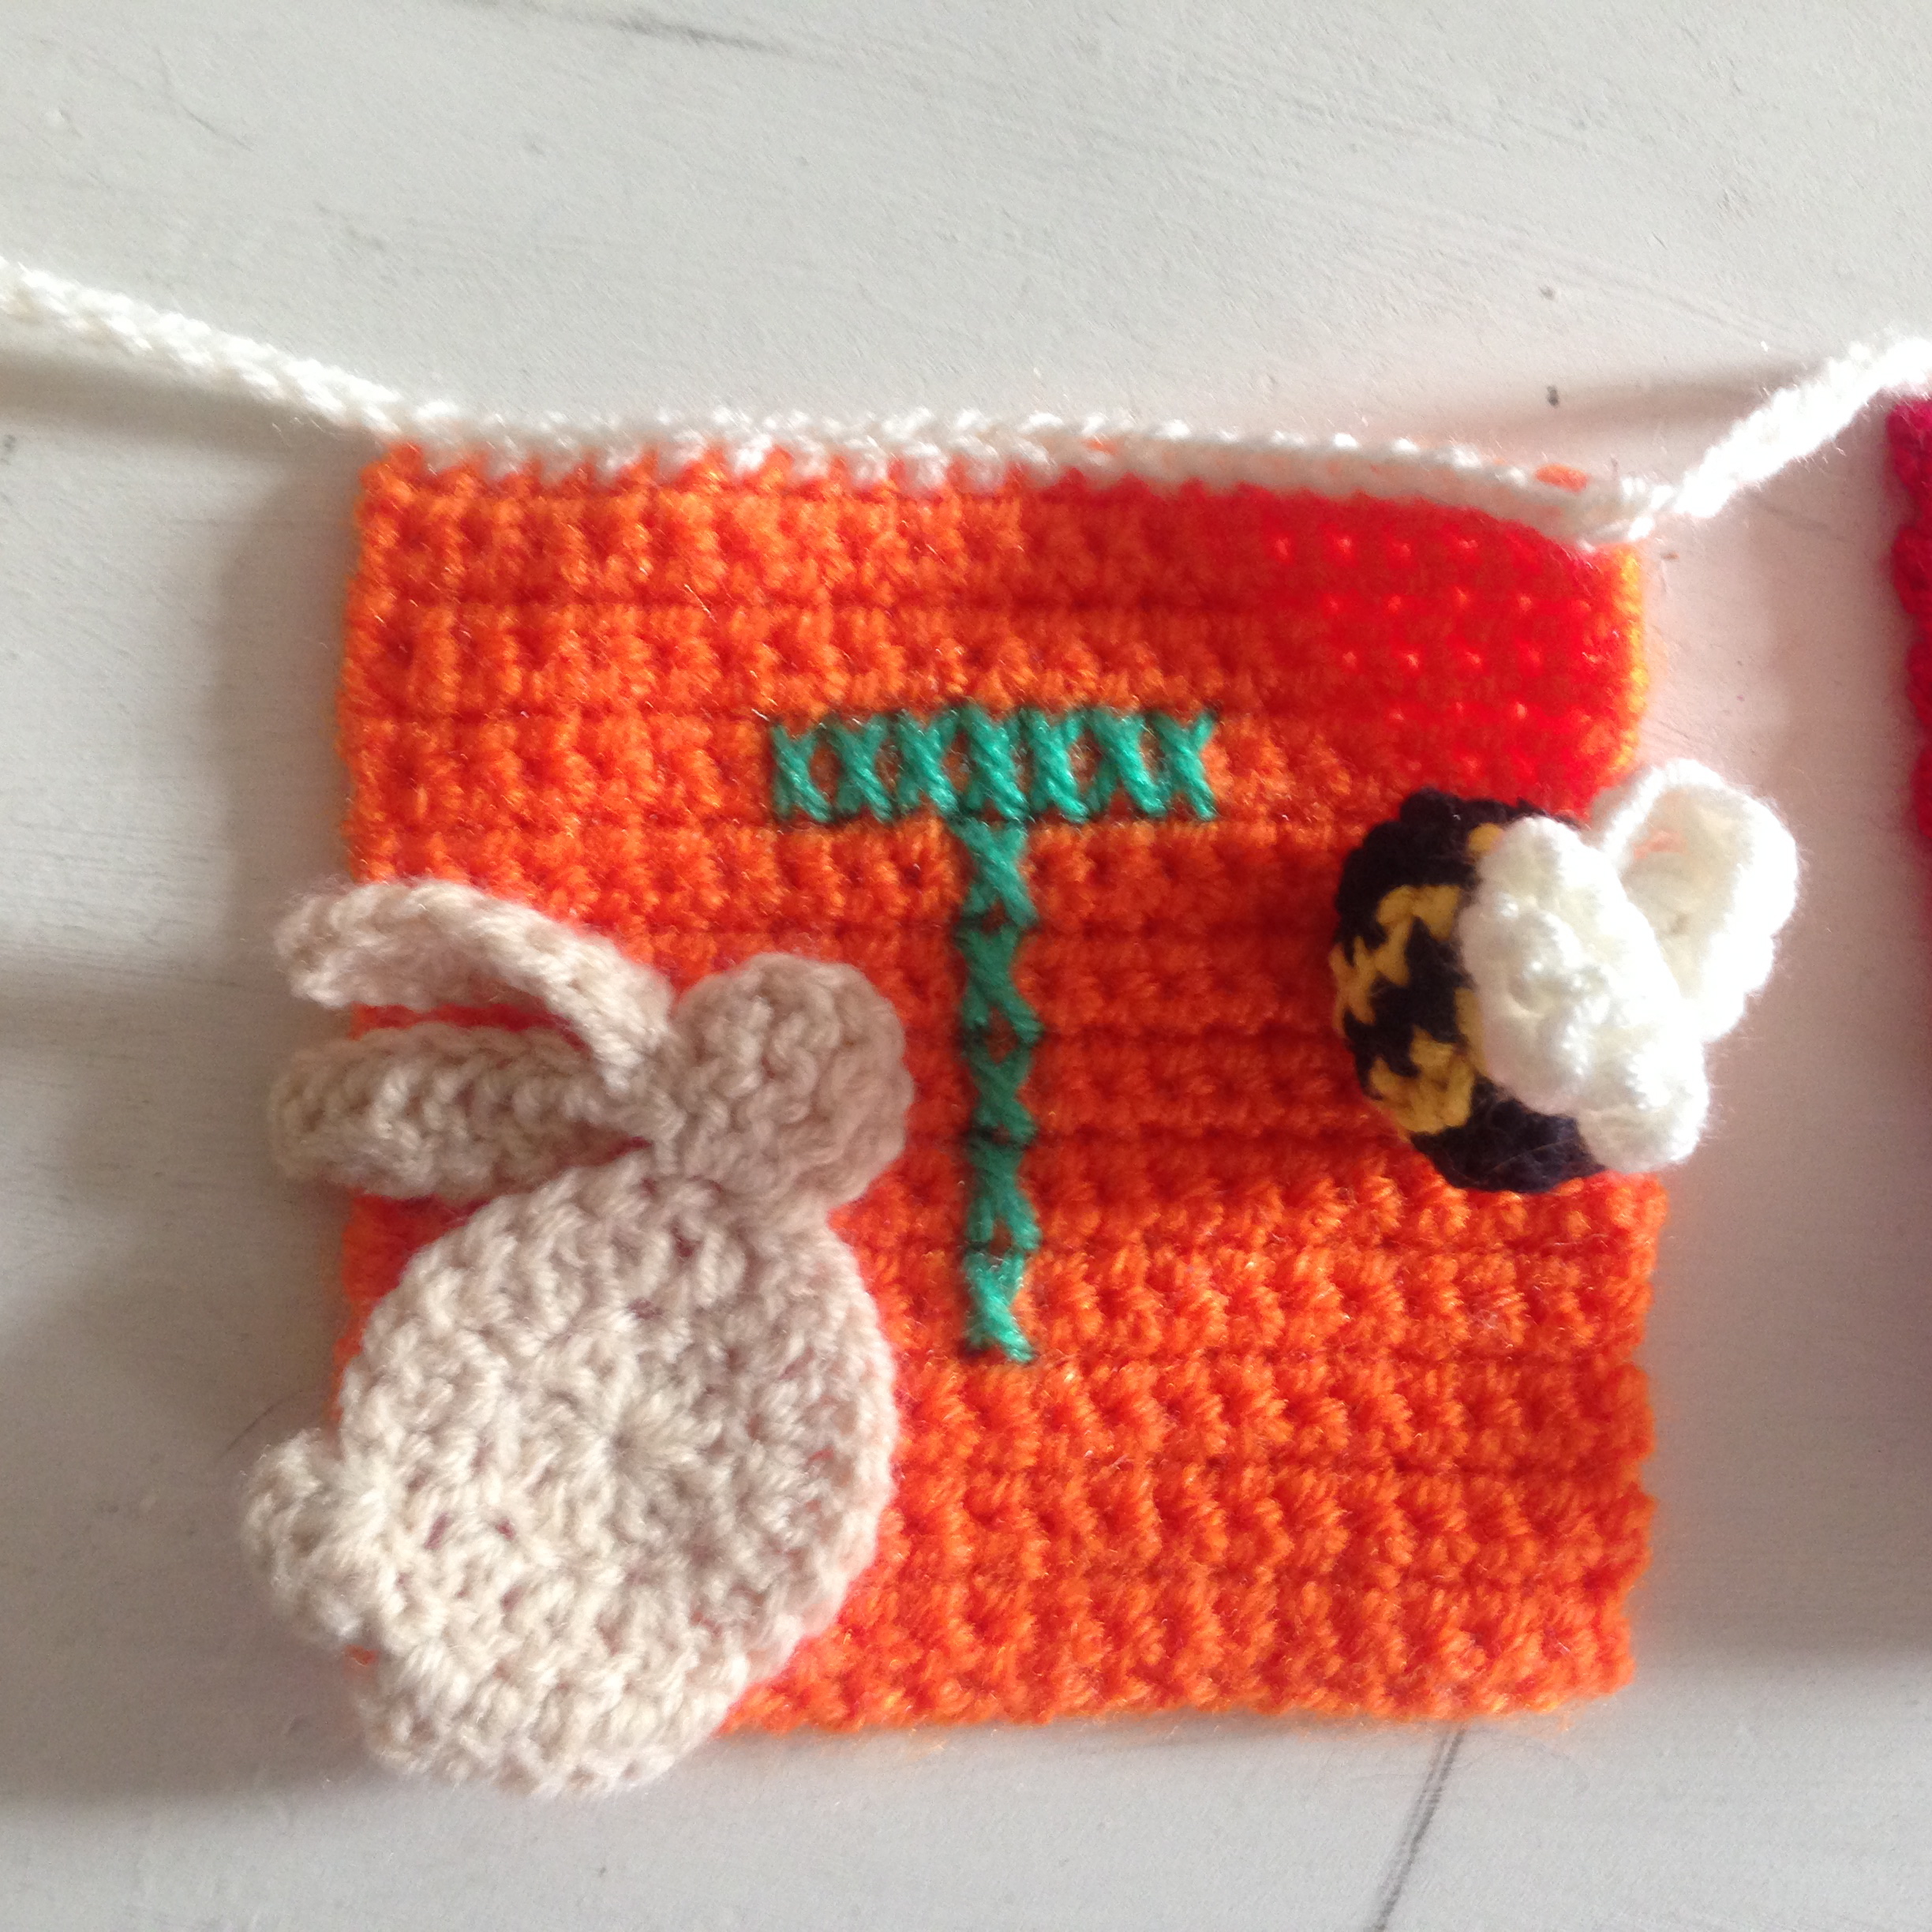
Double crochet creates a fabric with a grid-like pattern that is relatively easy to cross stitch on to. Each cross stitch is worked over the width of one double crochet stitch and between two rows (between two of the indented lines). Purlbee has a wonderful tutorial with loads of close up photos to follow here.
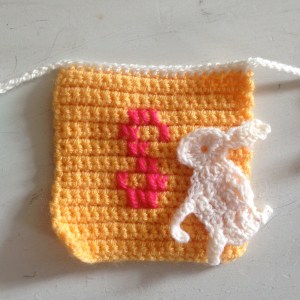
This bunny appliqué came from the Crochetpedia blog. There are several appliqué bunnies posted here but you do need to be able to read a chart to work this one.
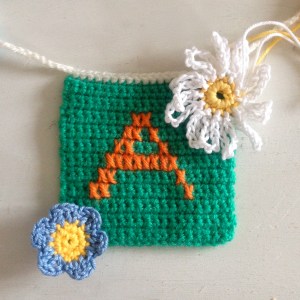
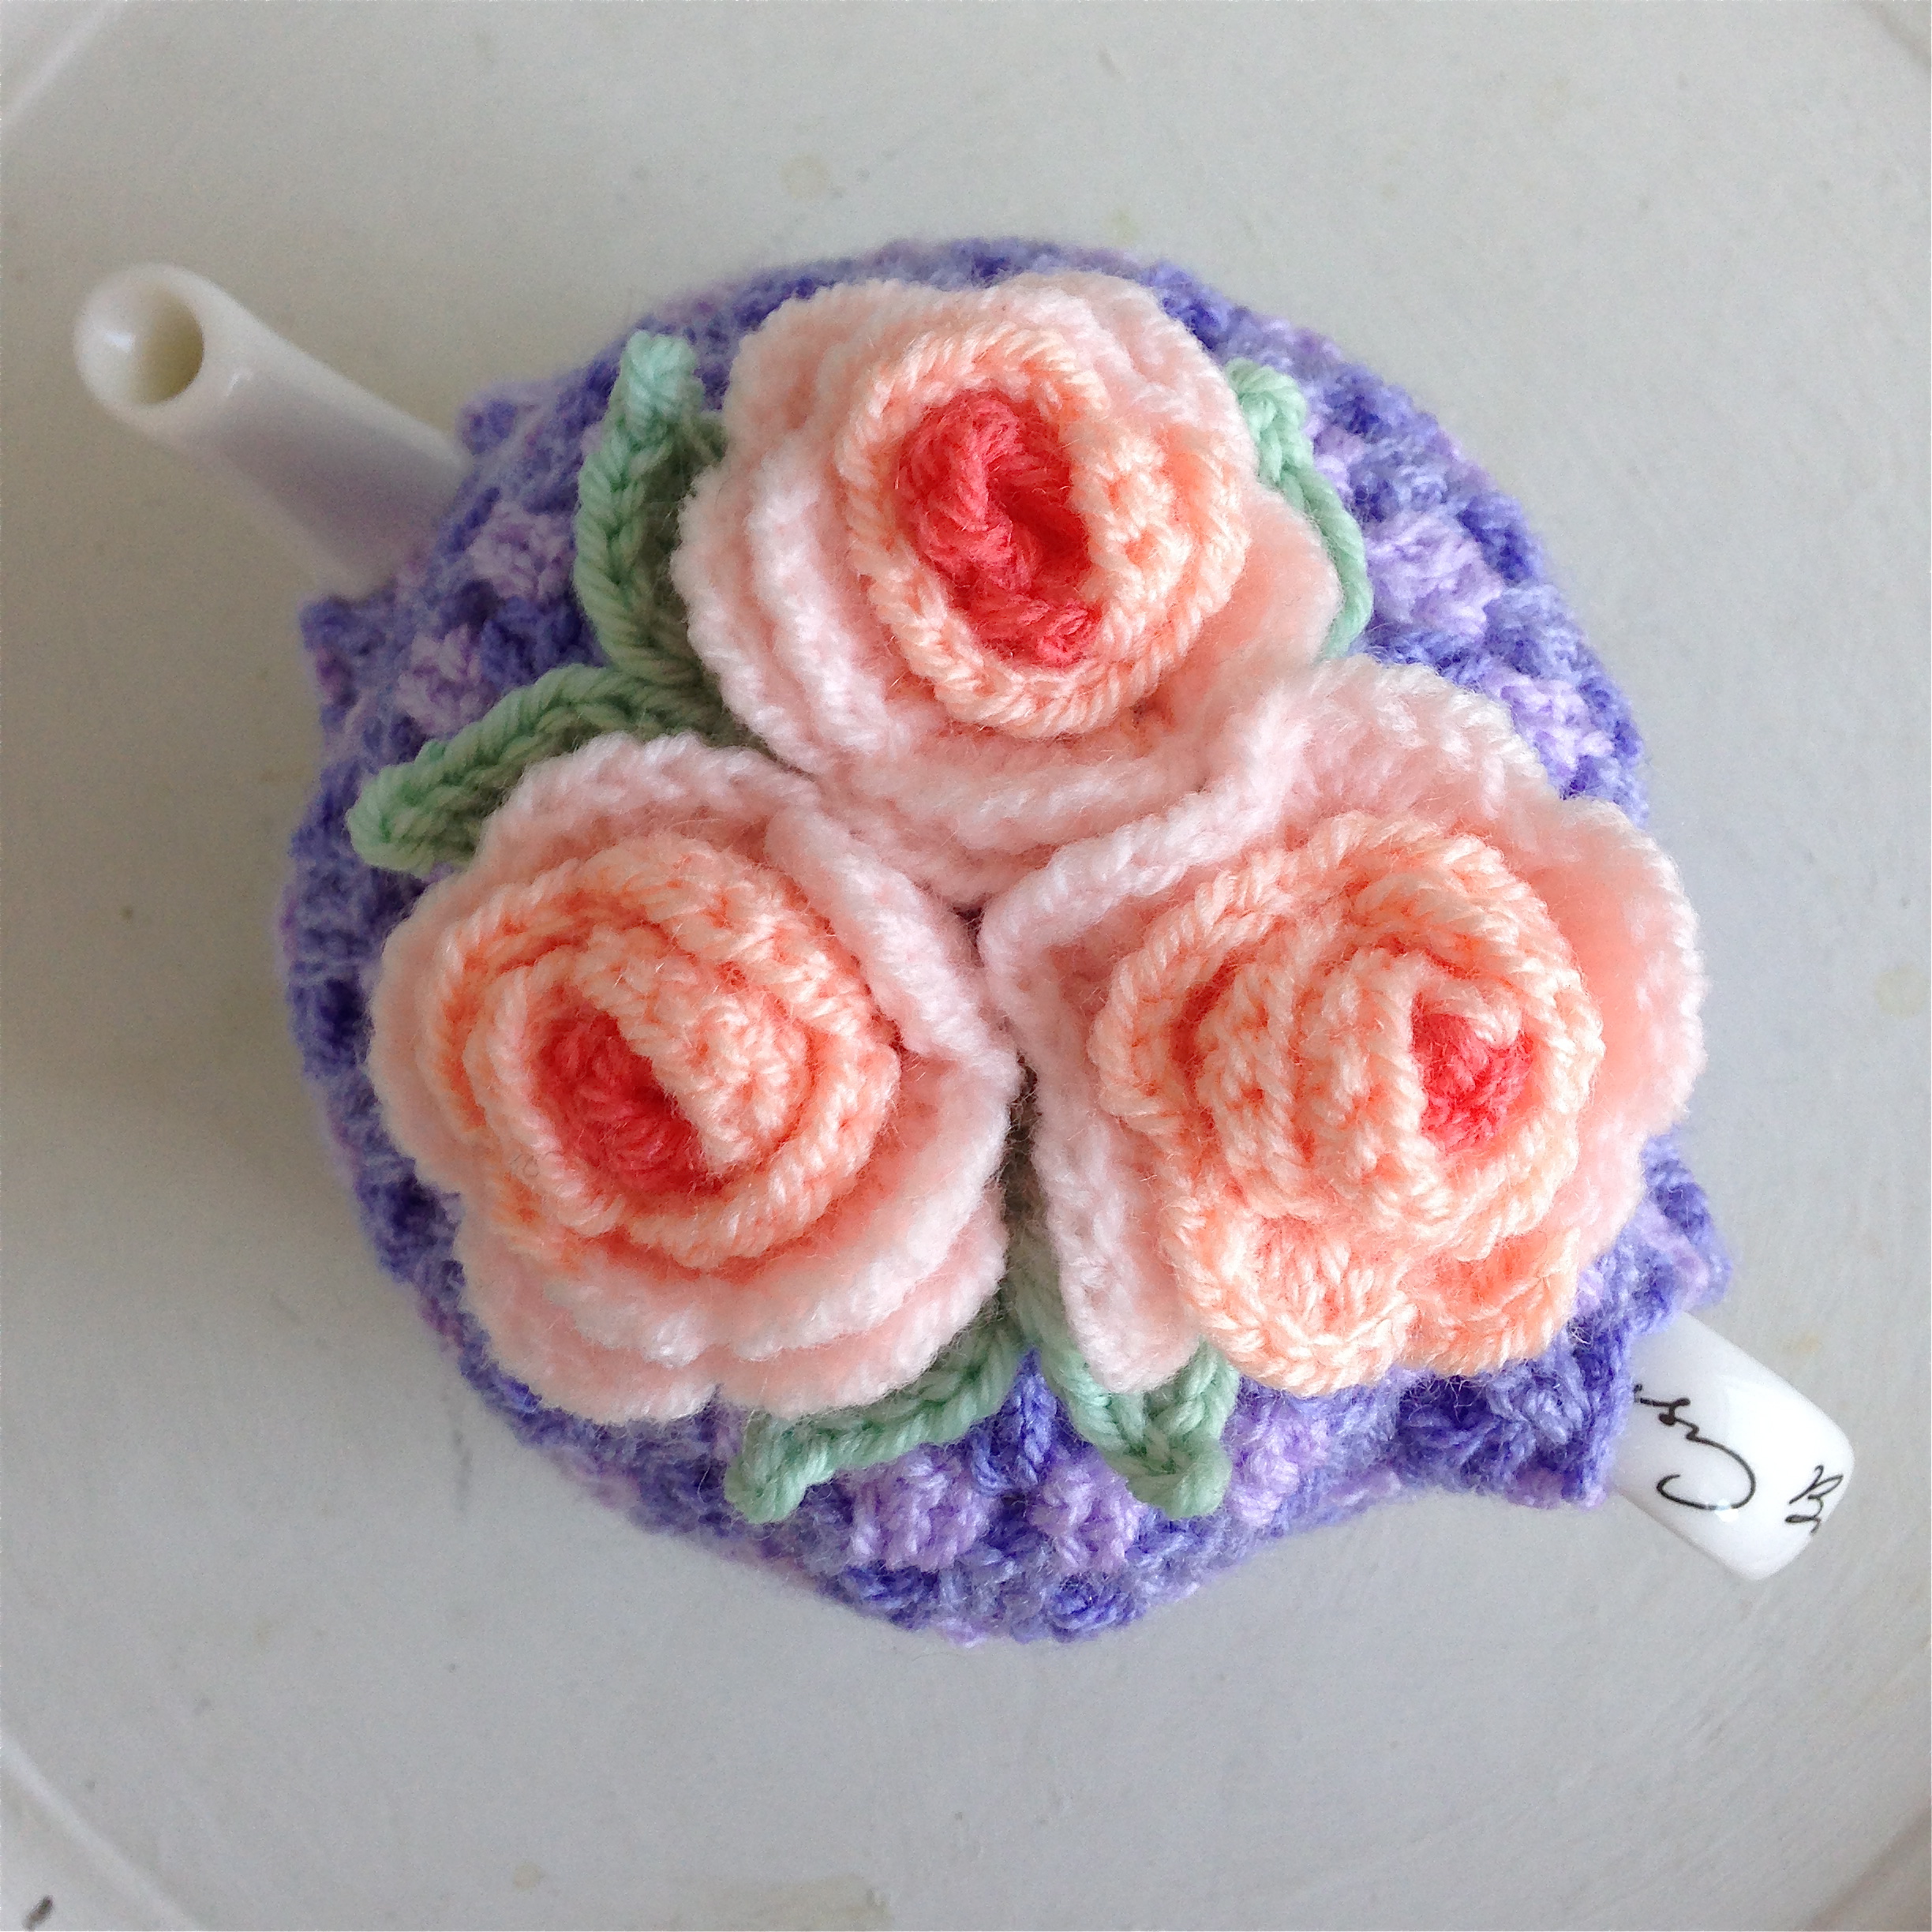
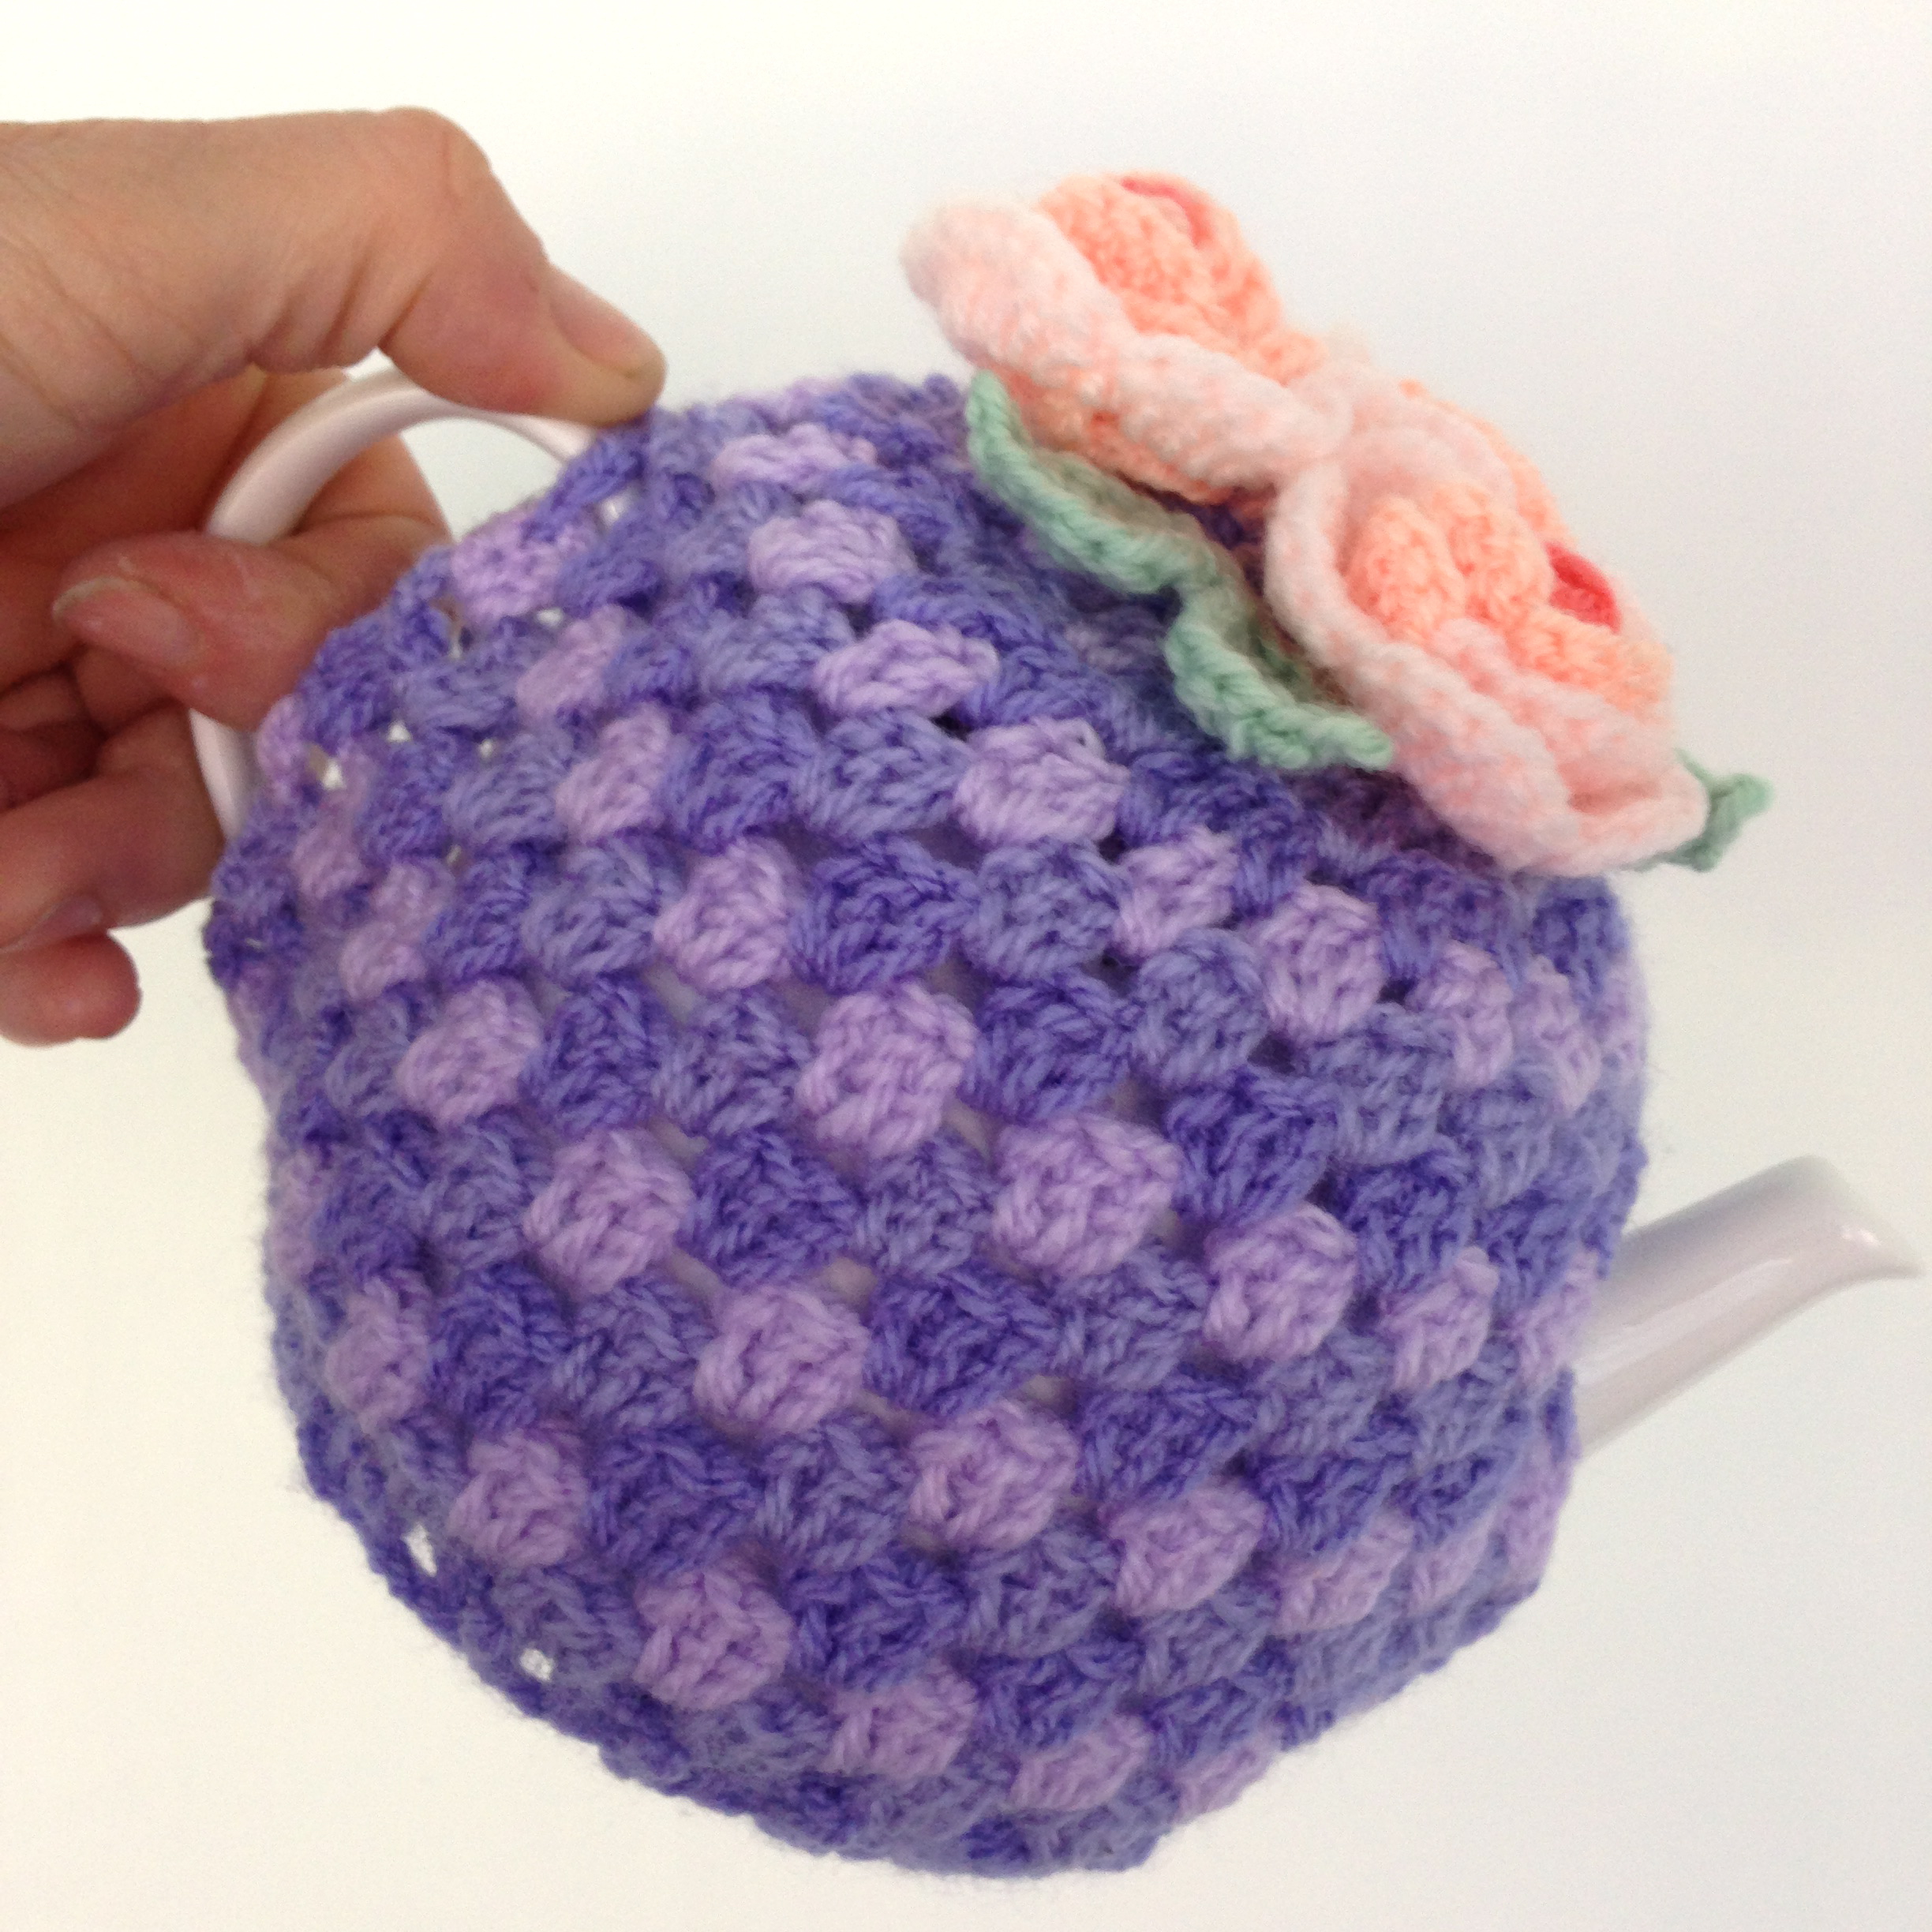
Patterns for the blue flower and Lazy Daisy can be found in 100 Flowers to Knit and Crochet, by Lesley Stanfield. All the patterns in this her book are given as written instructions and charts.
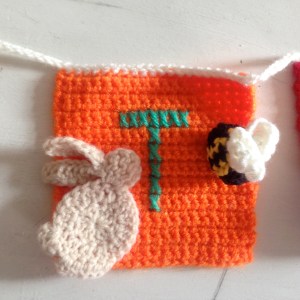
The bunny applique pattern can be found for free on Ravelry and is by ‘Need a Craft Room’ and bee comes from a pattern from 100 Flowers to Knit and Crochet, by Lesley Stanfield
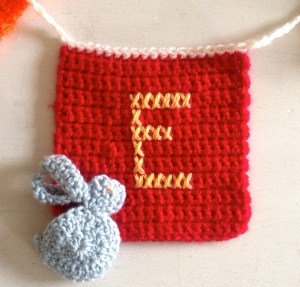
Bunny applique as before (Ravelry)
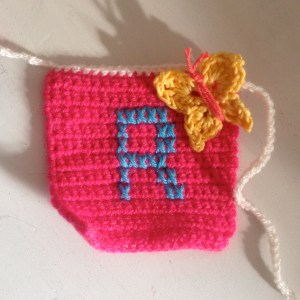
The butterfly pattern came from a Simply Crochet Magazine.
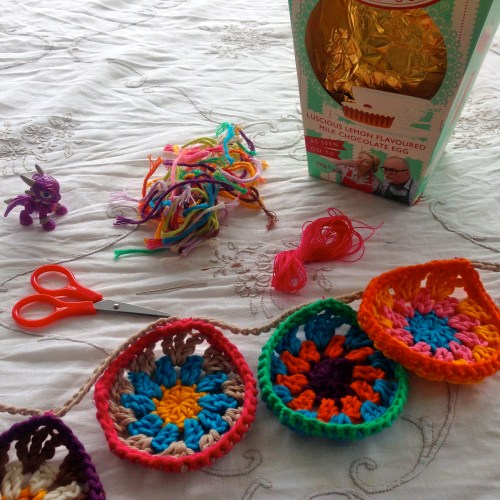
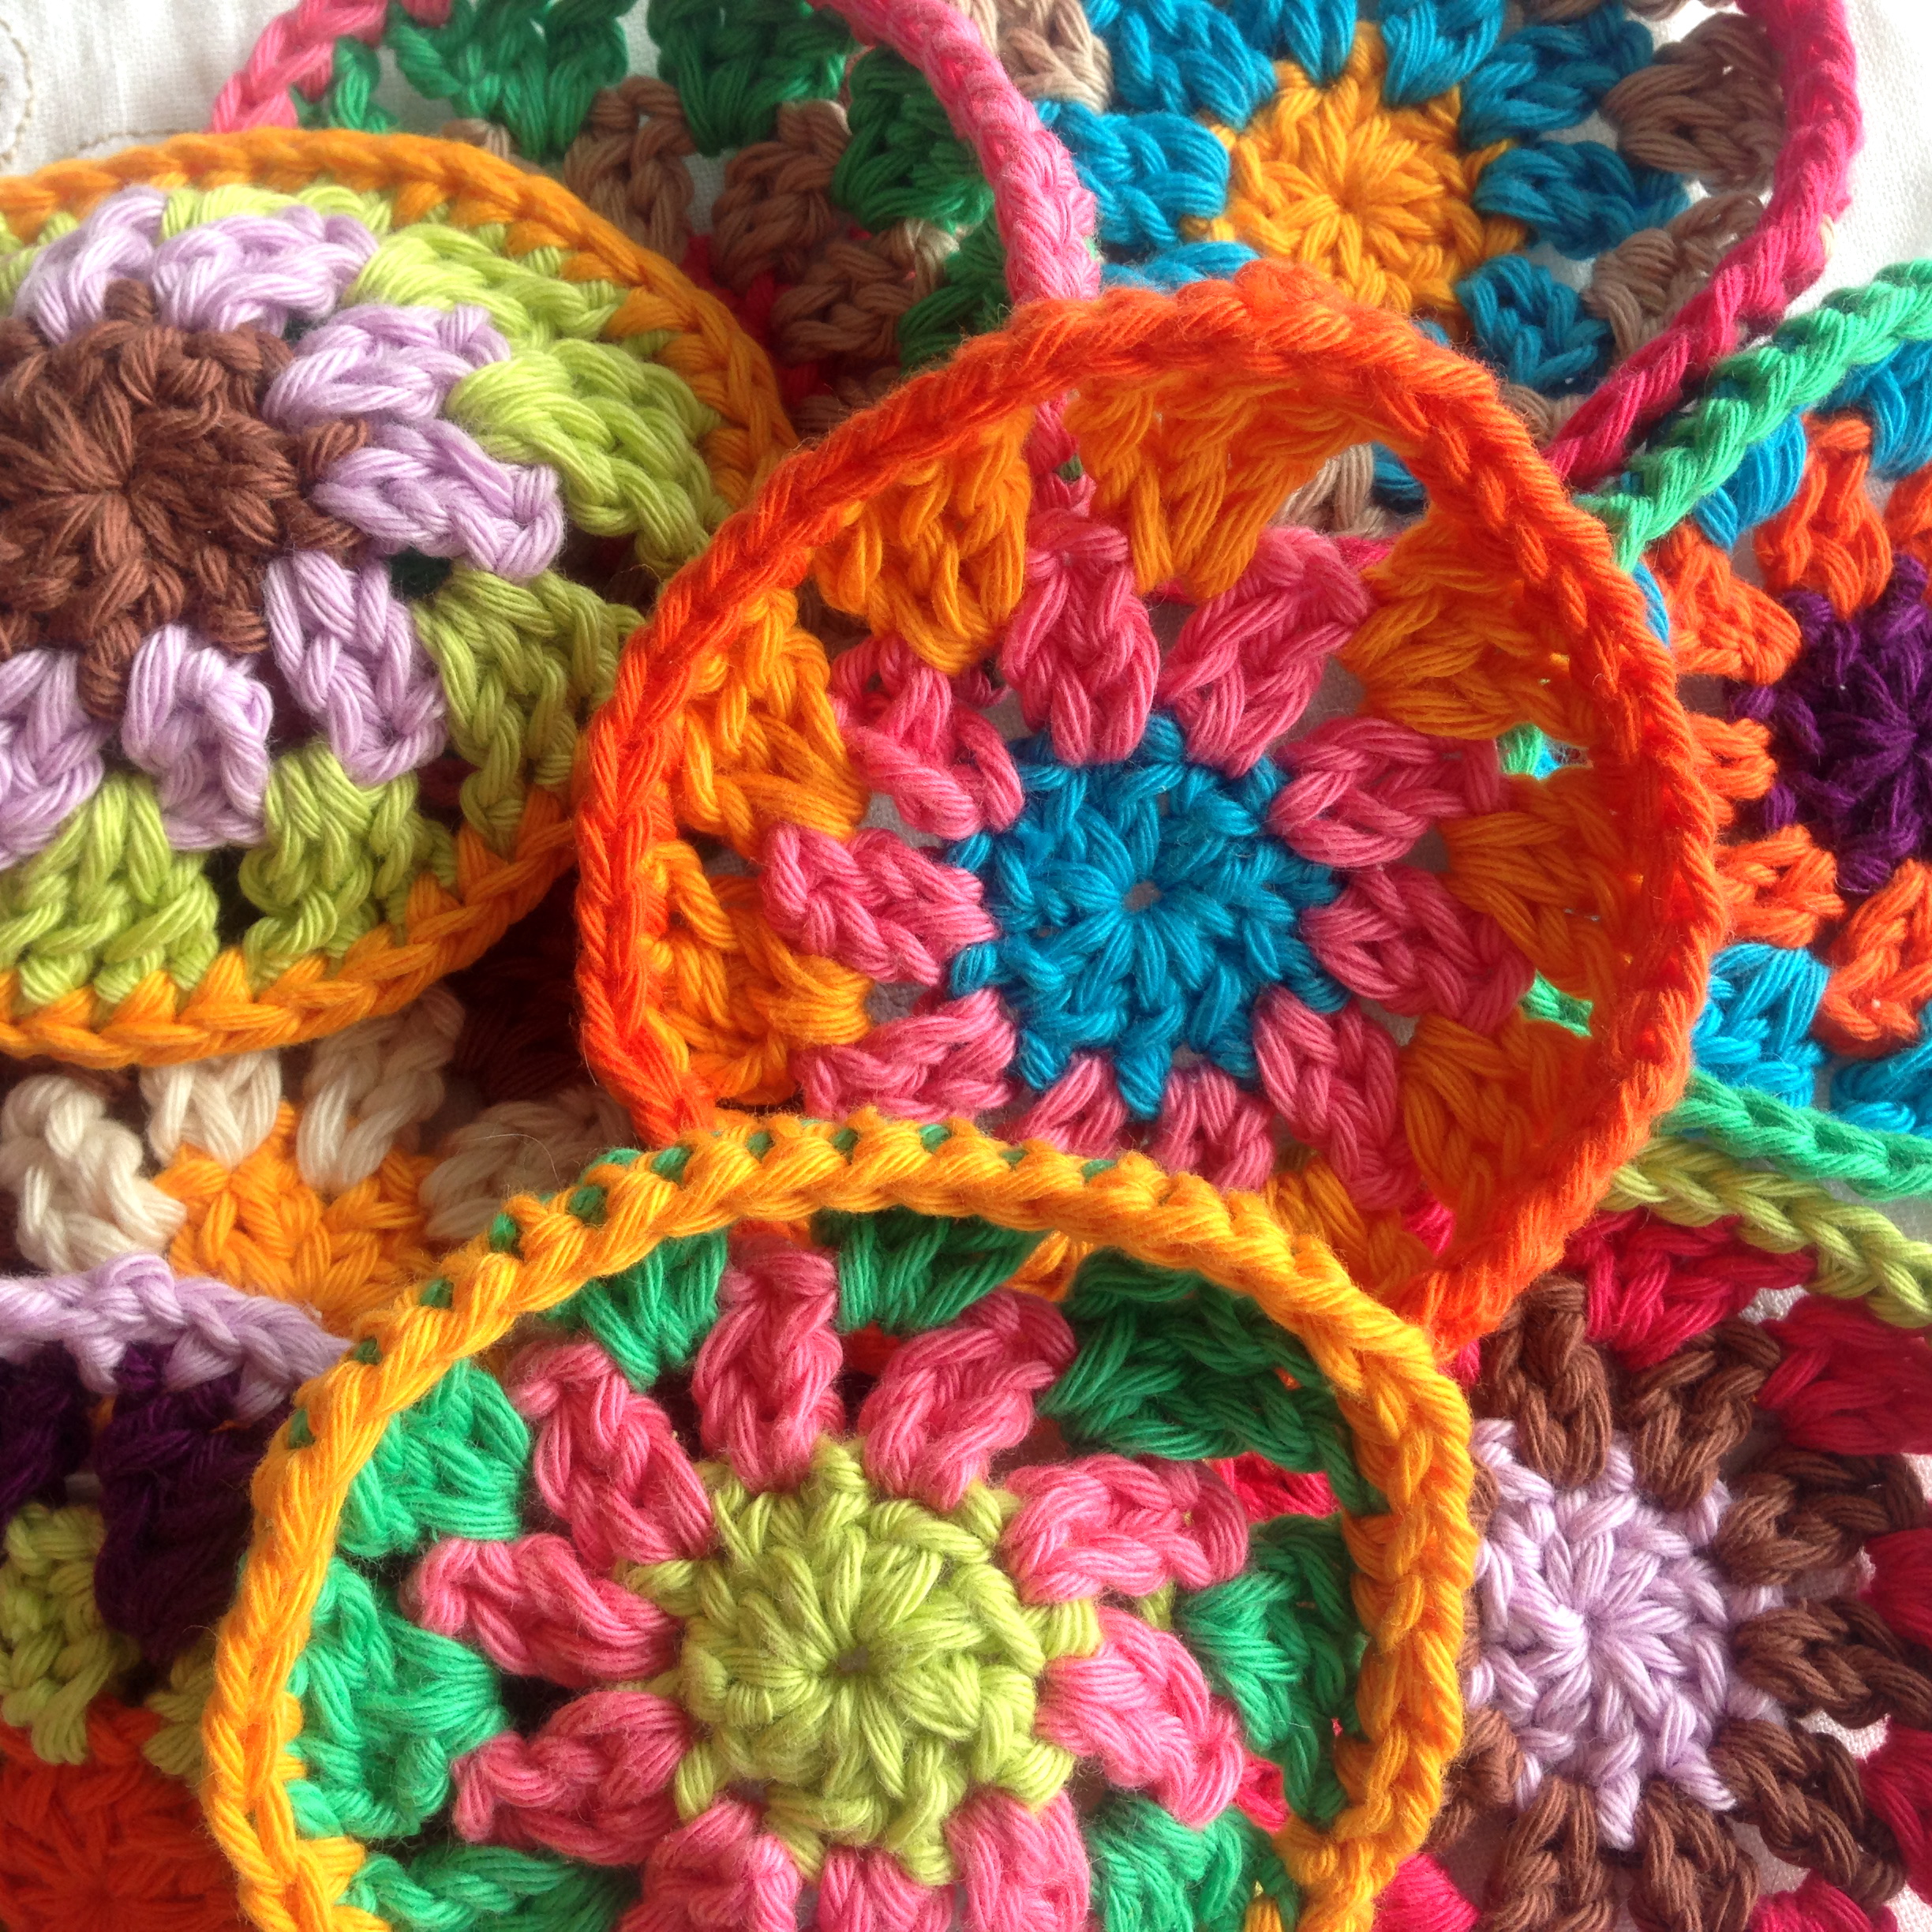
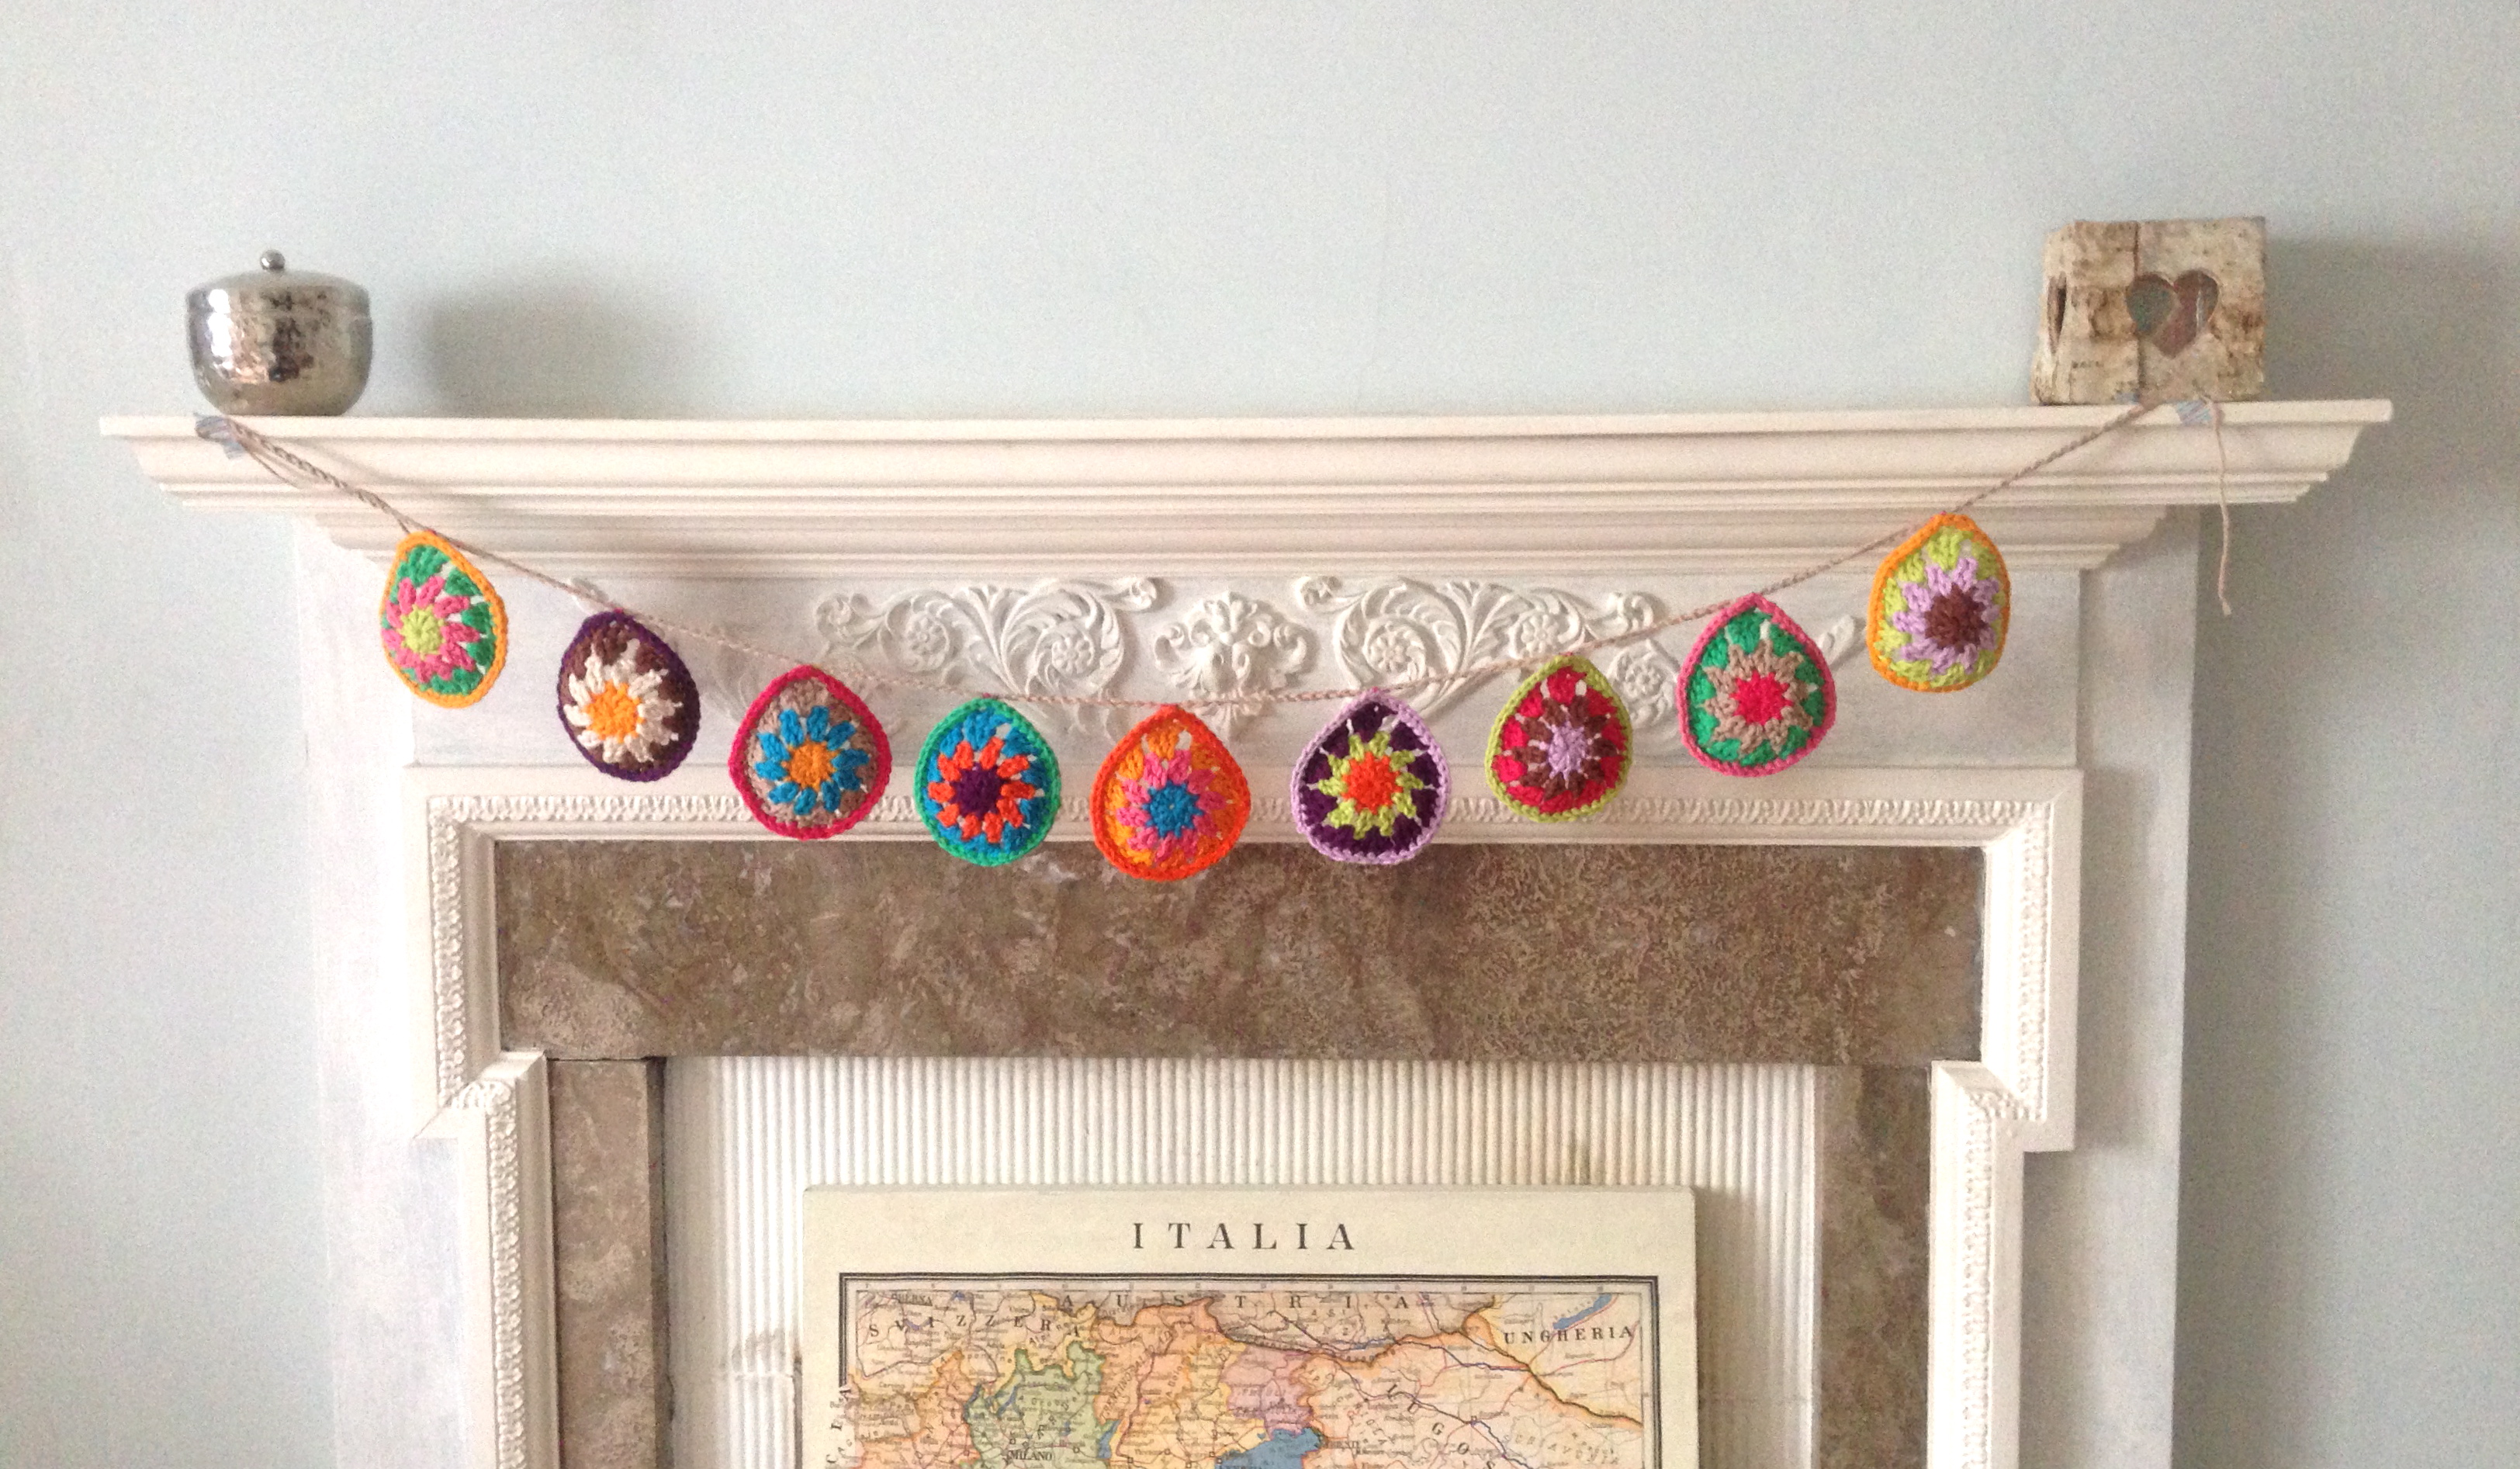
The above bunting project suffered because I got distracted by another bunting project which I couldn’t resist once I realised it would be perfect worked up in some Rico Creative Cotton I had acquired a while back.
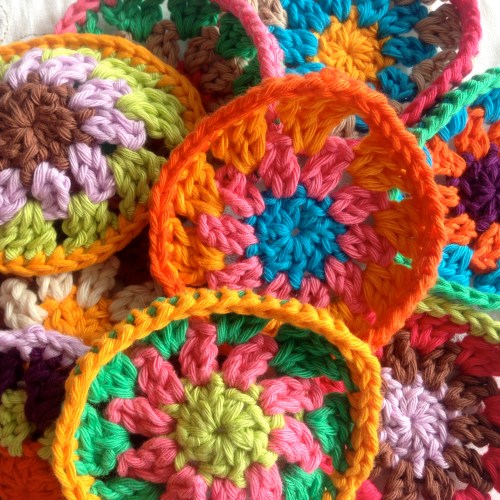
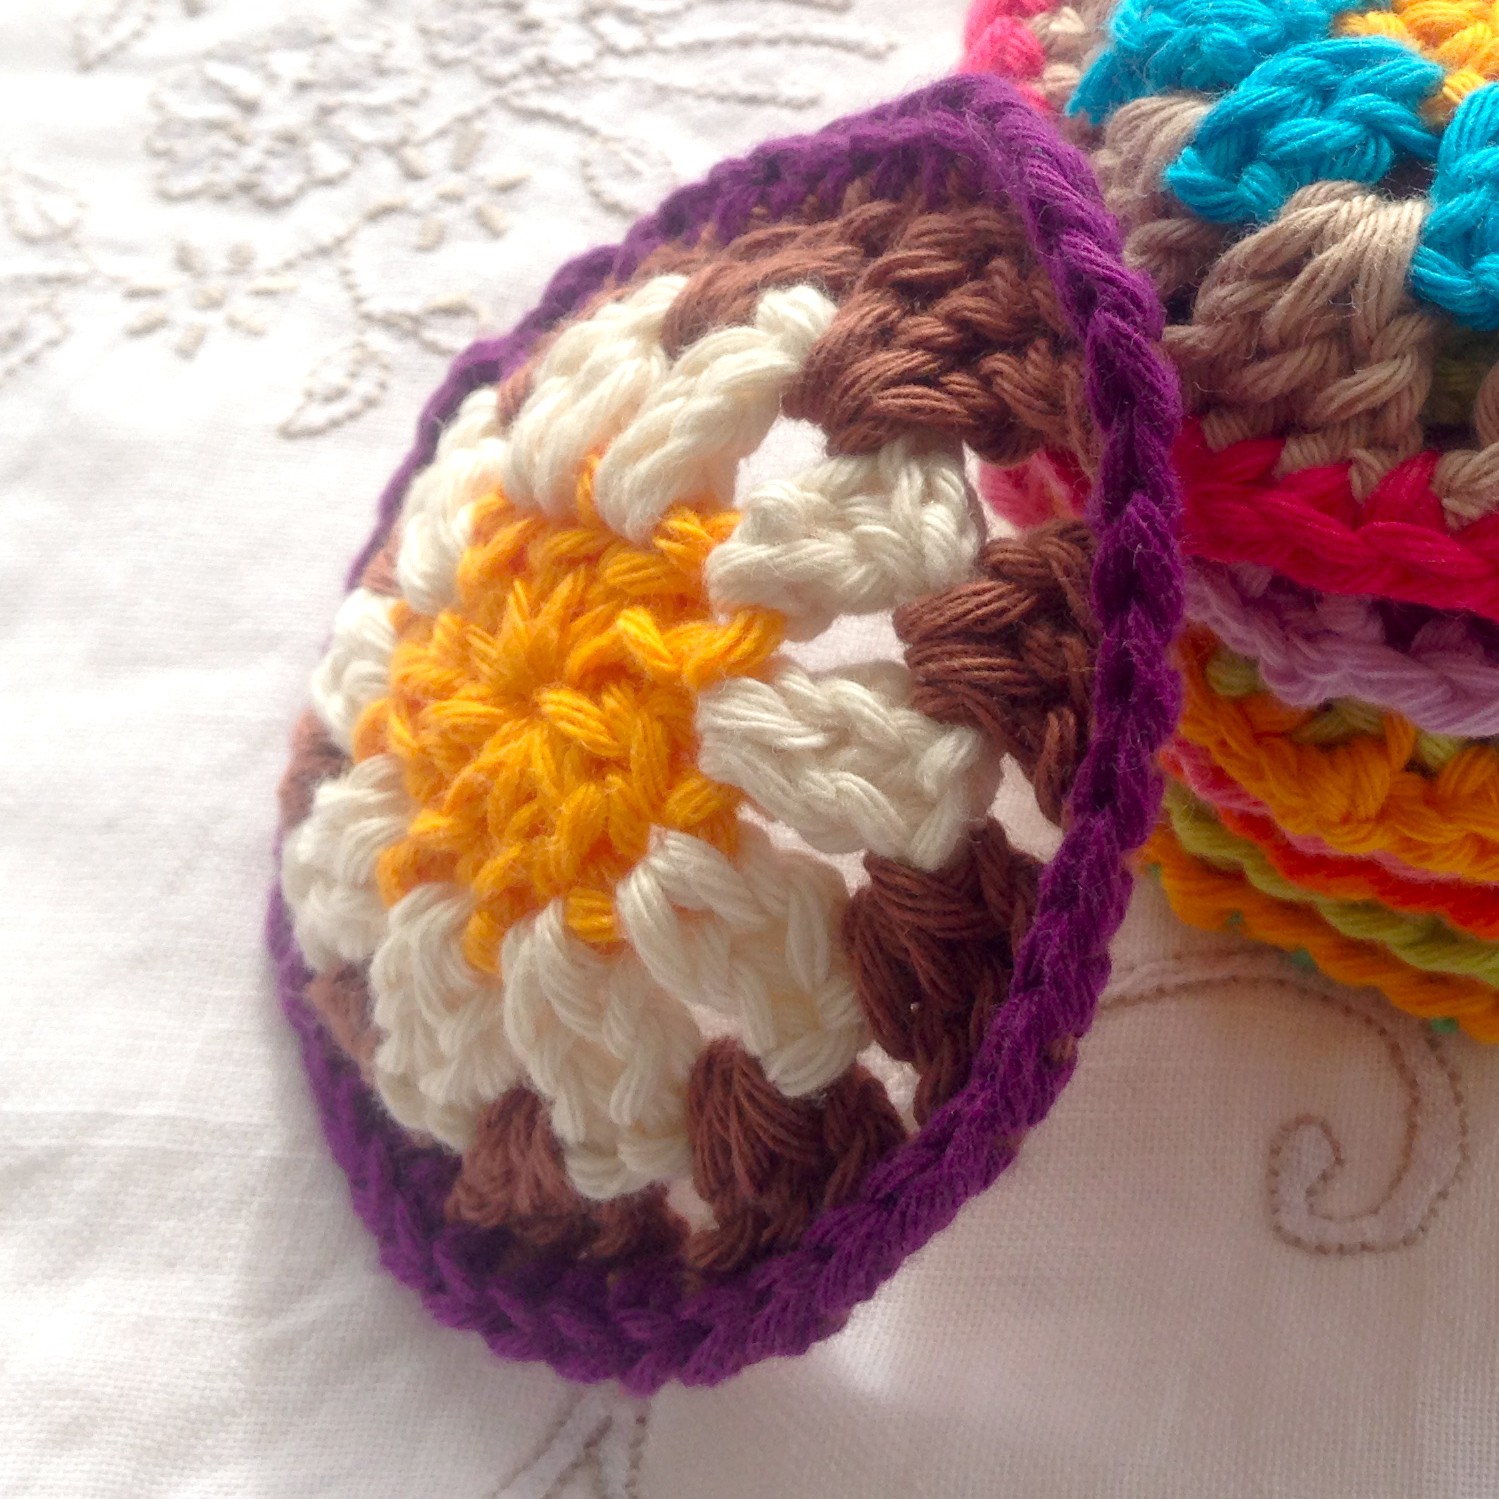
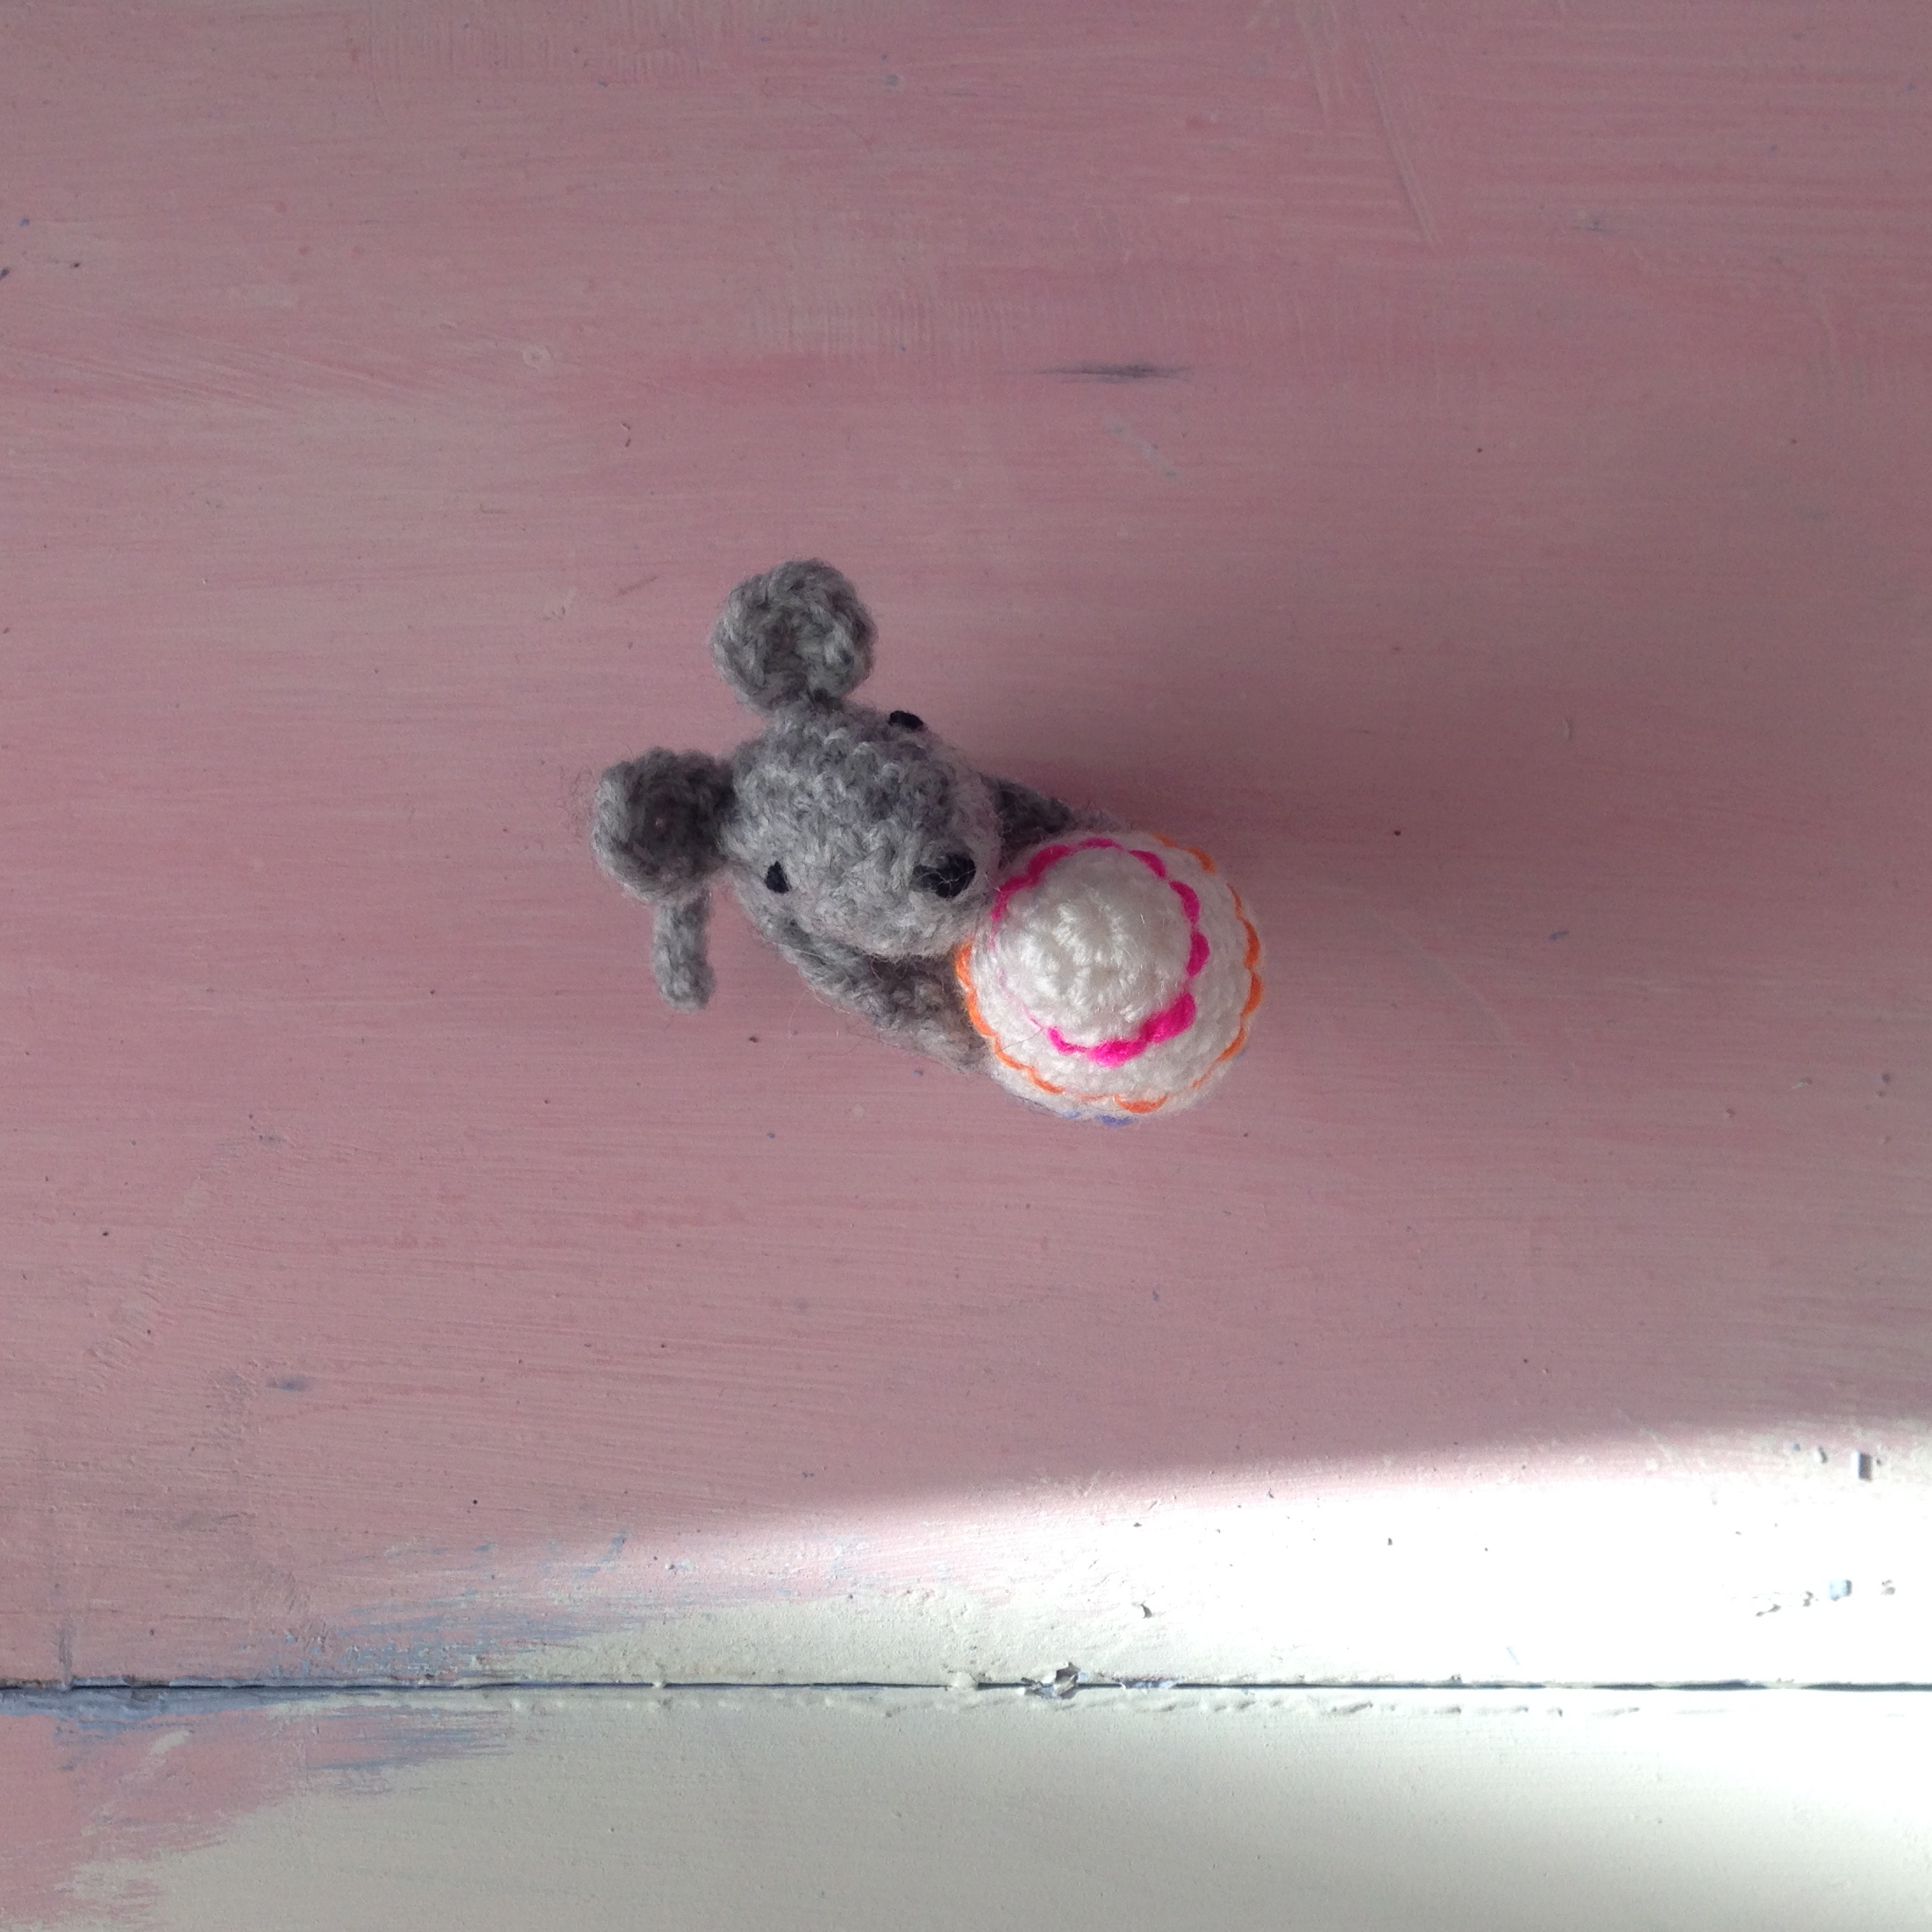
Whilst having a coffee and my usual dip into Pinterest, I came across the original pattern for the bunting here. It looked nice and easy so I jumped in. Reading the pattern always helps, but I was in too much of an enthusiastic hurry and I had worked three eggs before I realised I was adding an extra chain space between each of the 3 treble crochet clusters of the last round. Rather than unpick everything I decided to soldier on and added an additional edging of double crochet to help with shaping.
I was rather happy with the results. So colourful and cheery.
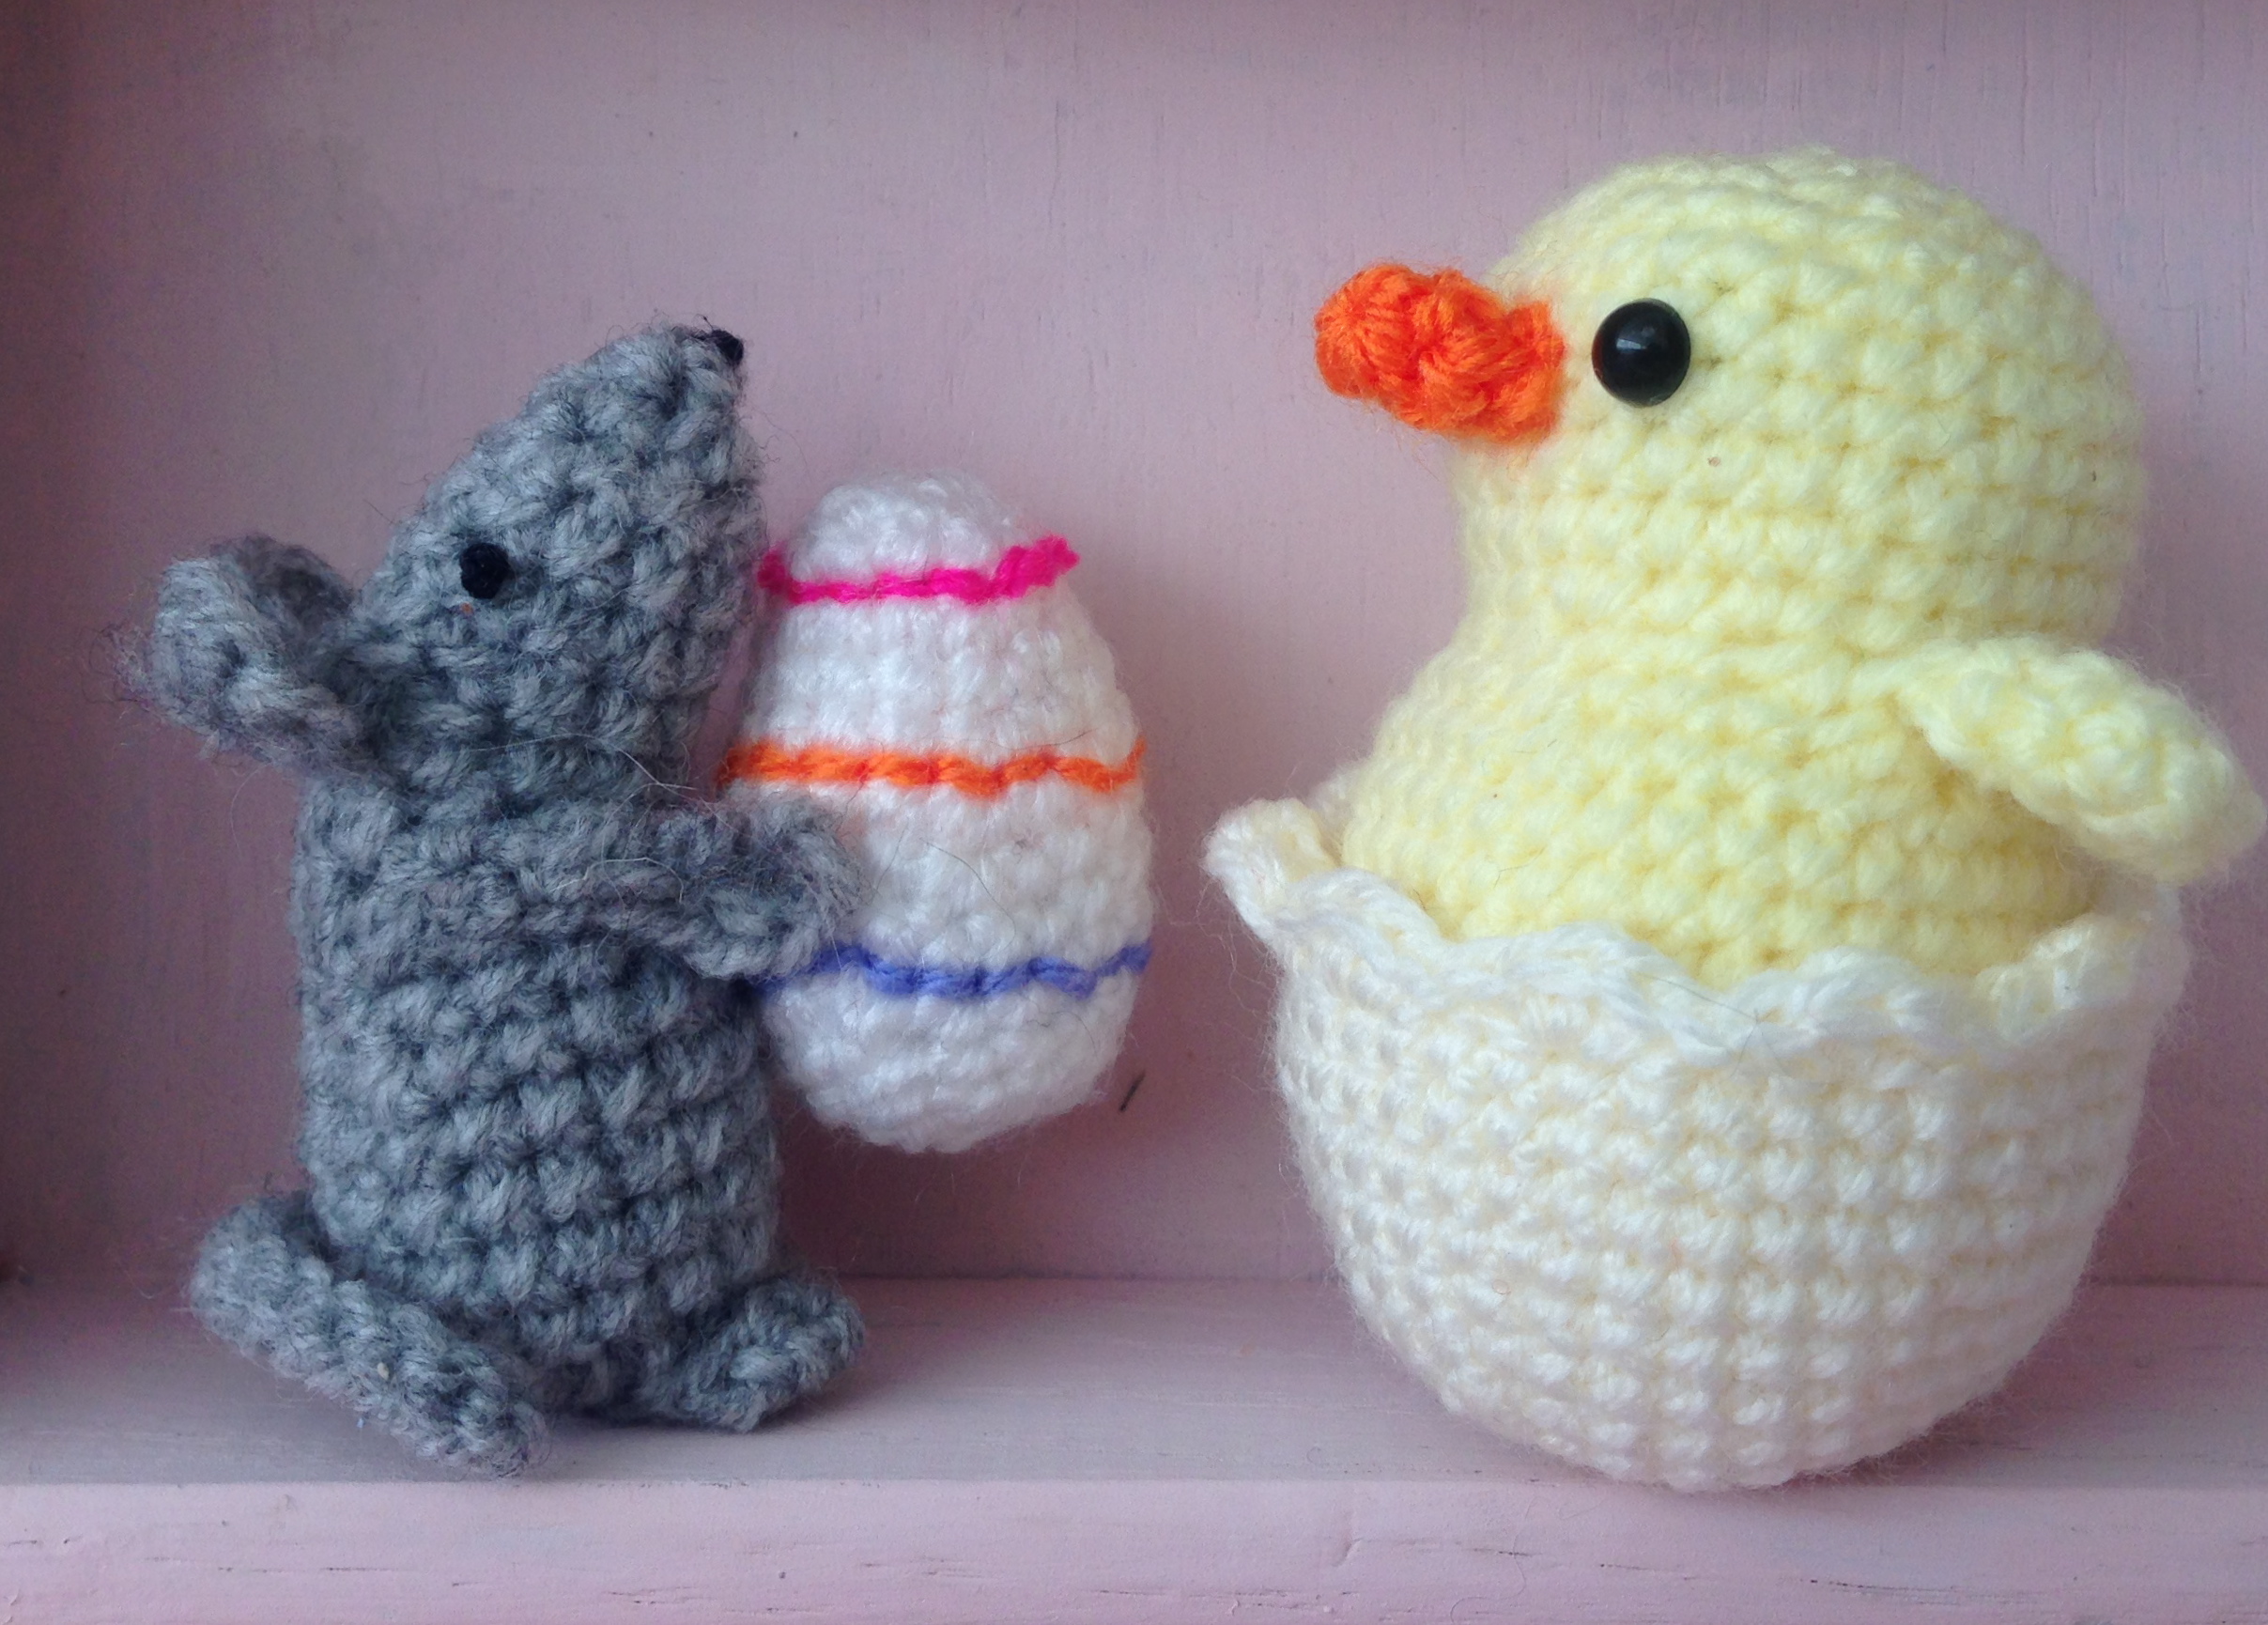
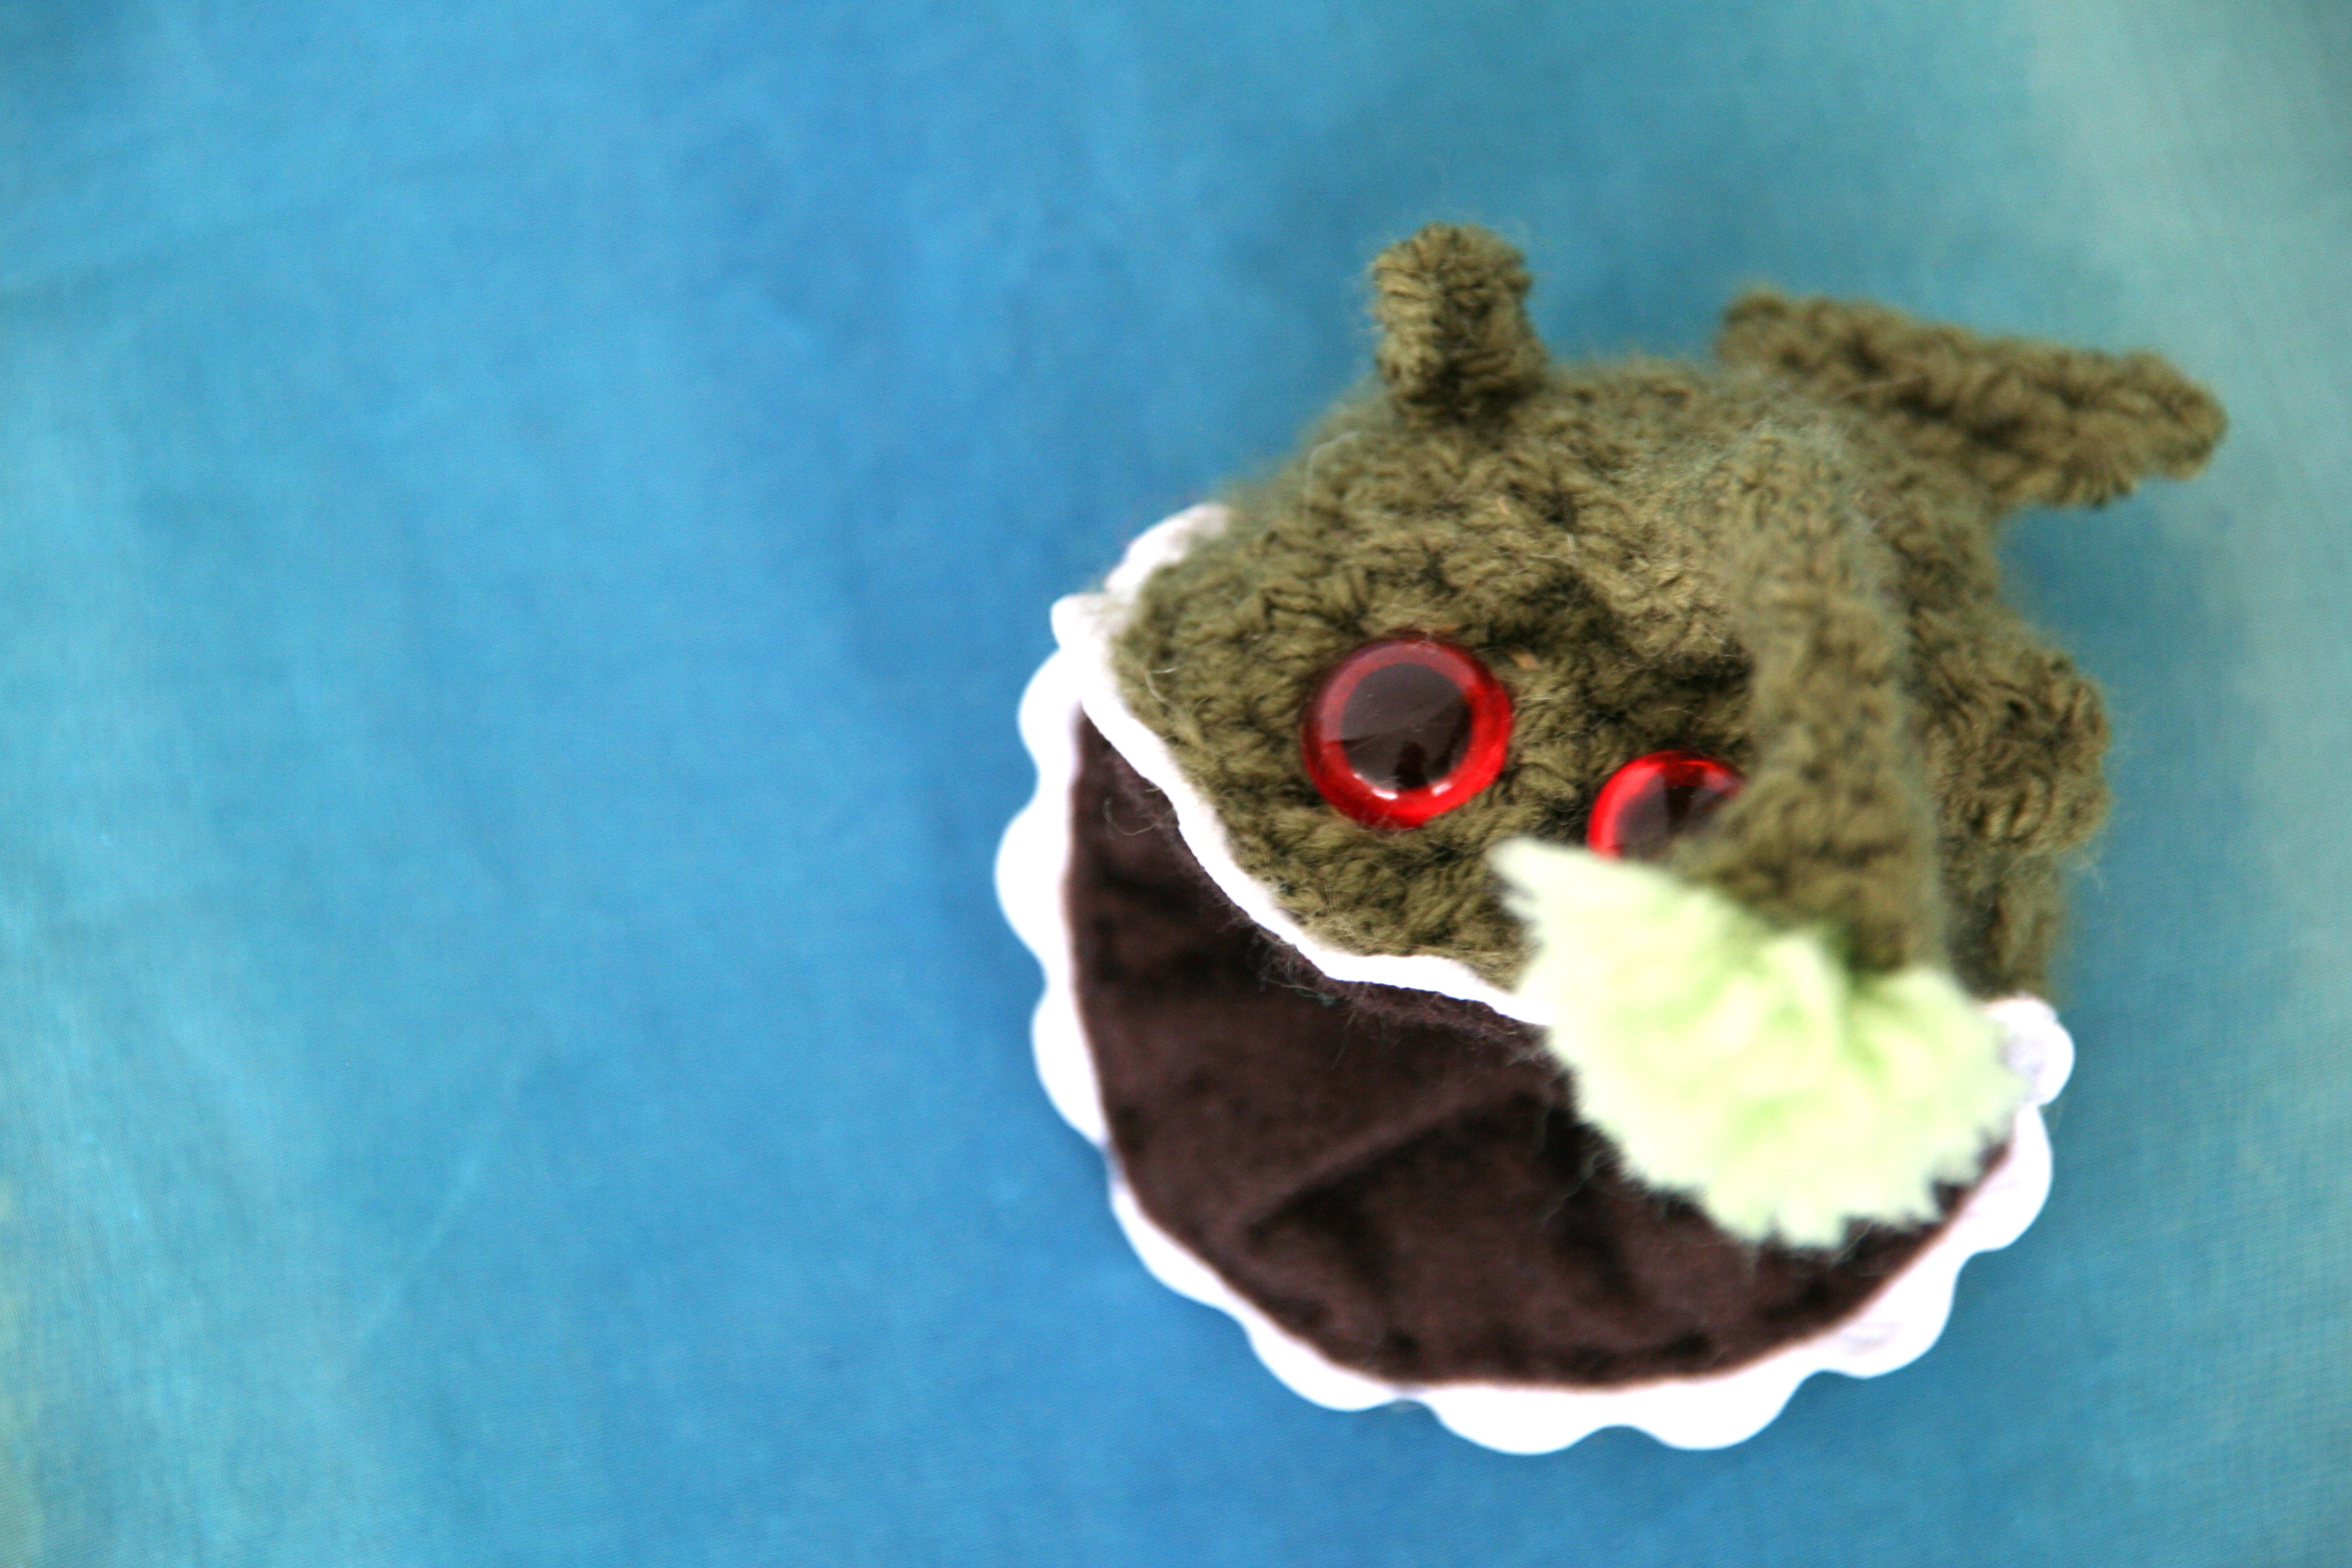
One was inspired by a Cadbury Cream Egg!

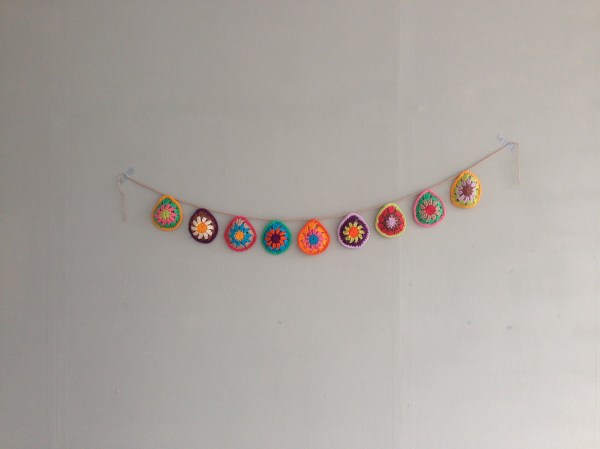
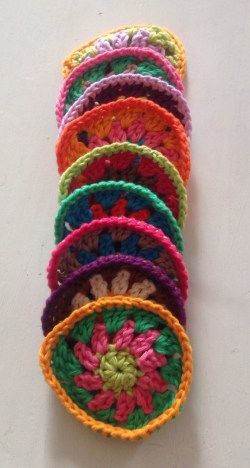
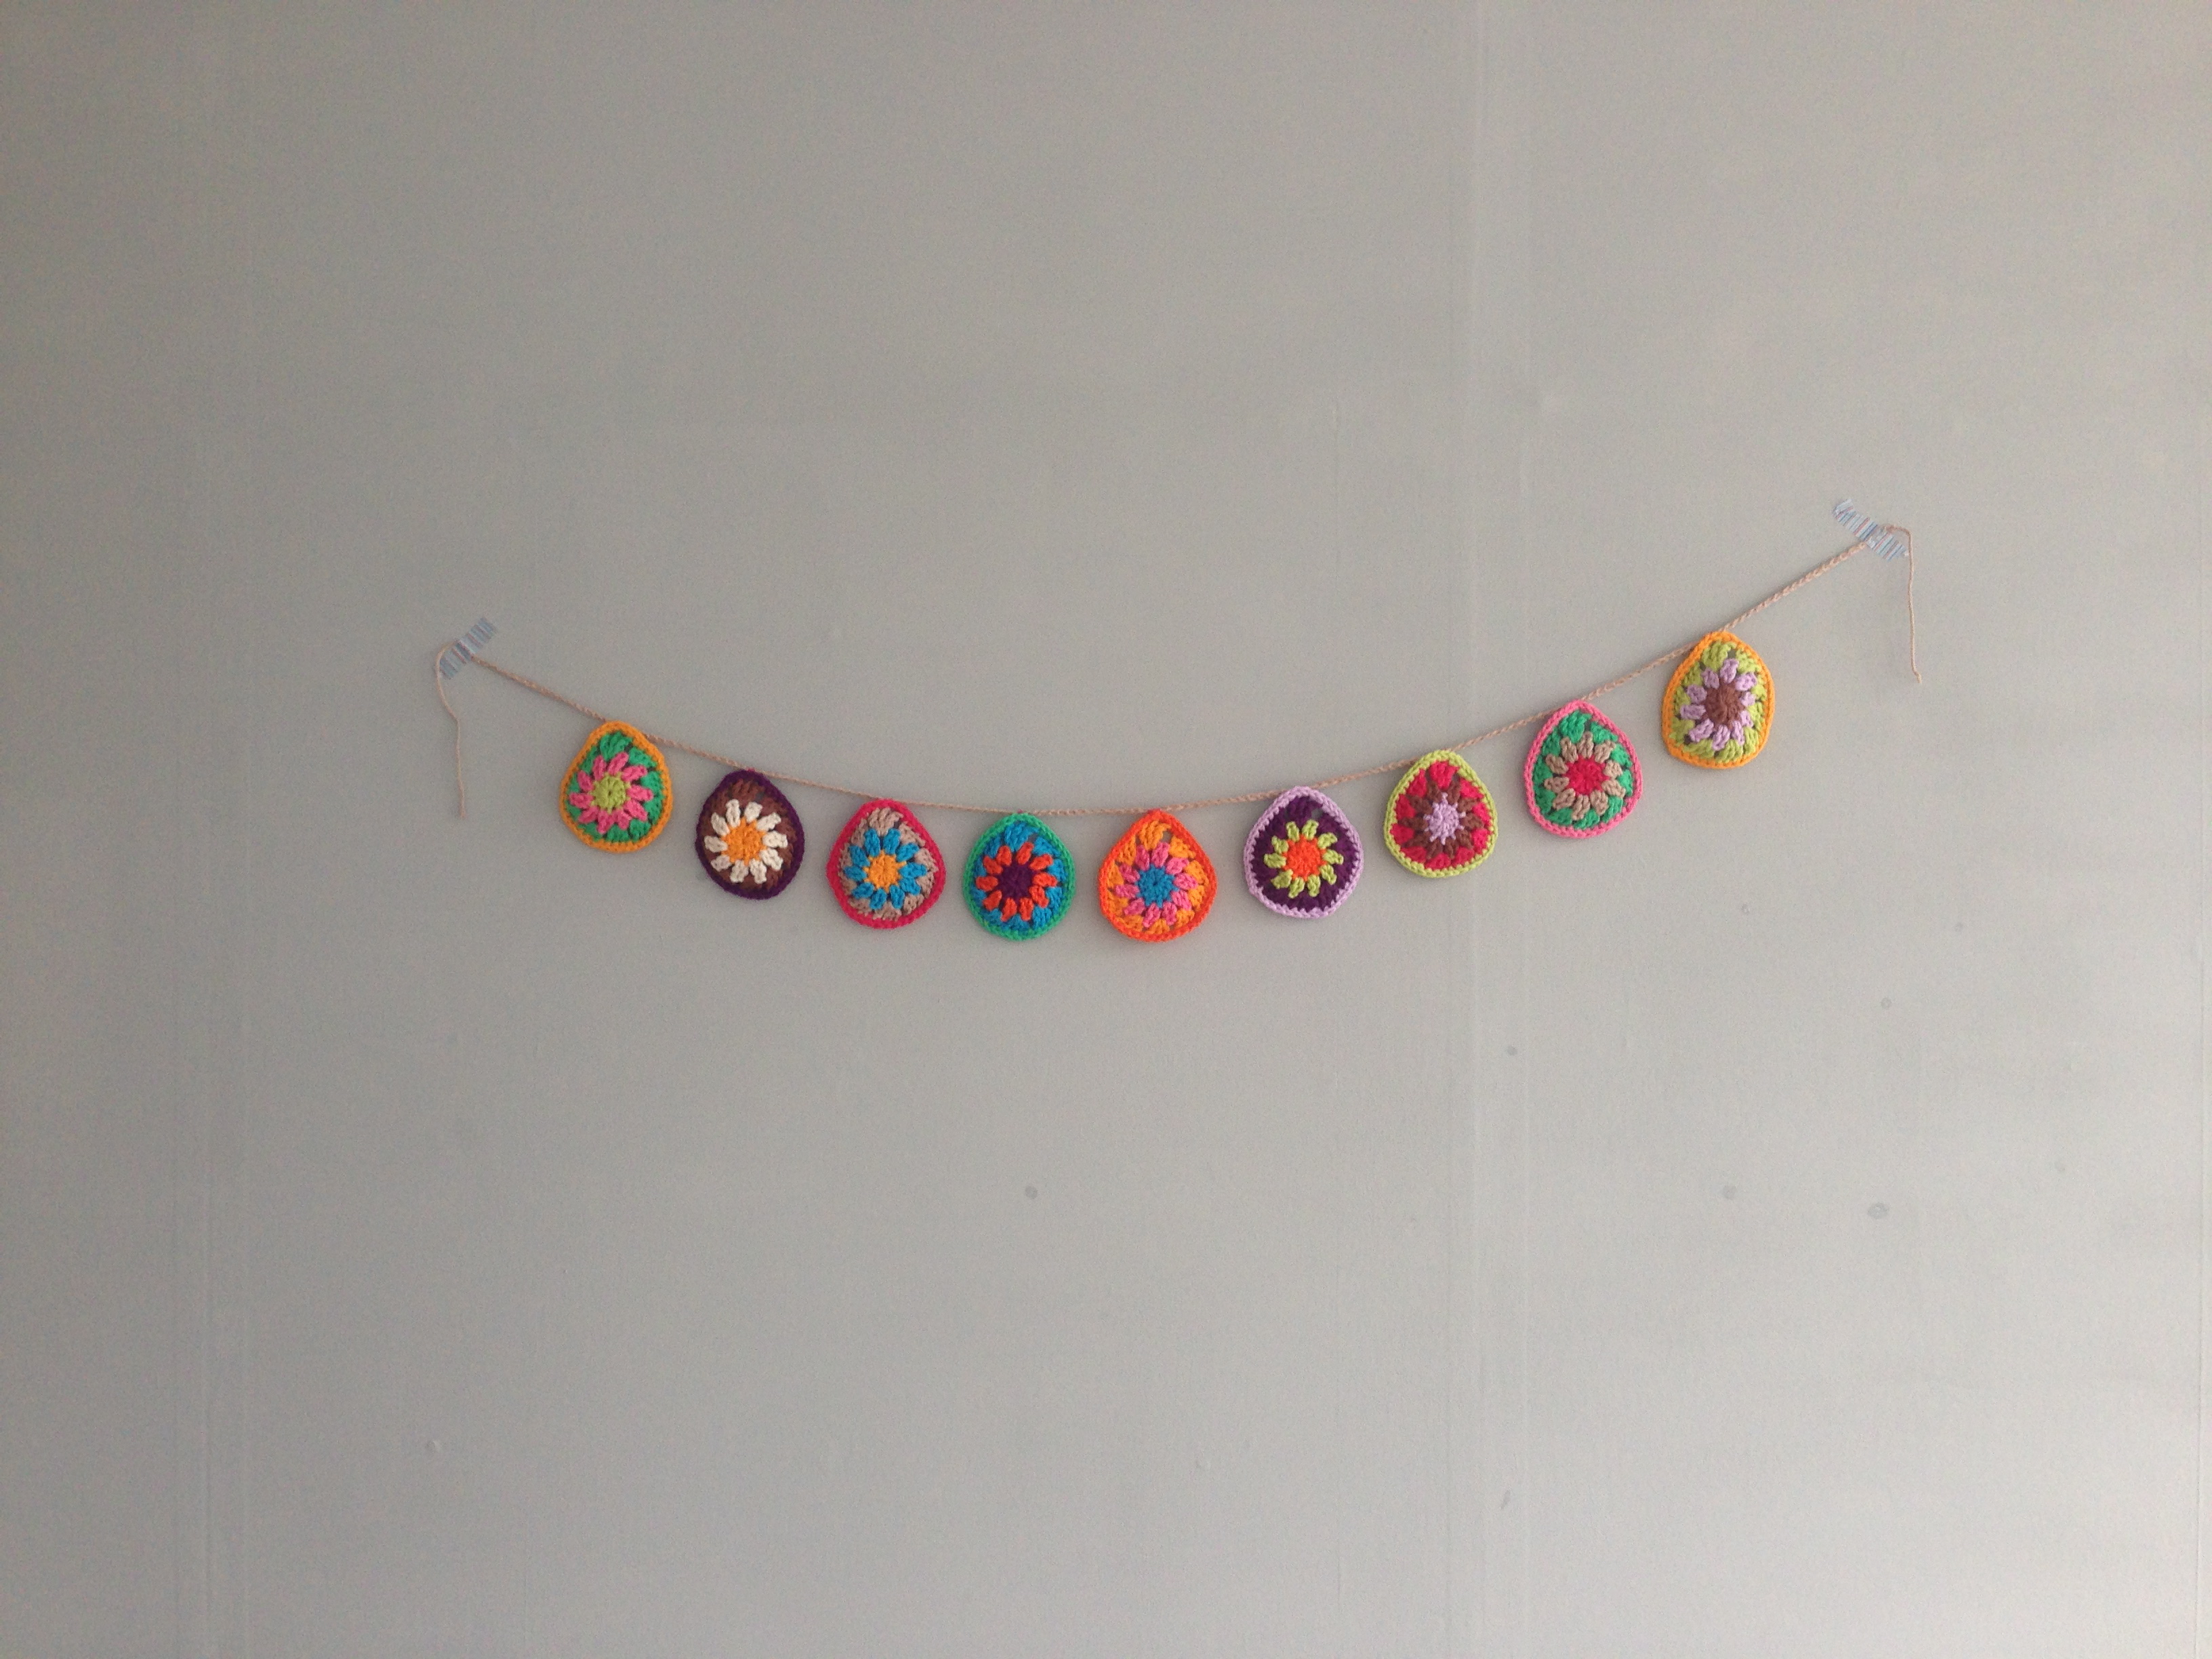
Working the final chain to string all the eggs together, I was originally going to crochet each egg into the chain as I went along, but they kept turning side ways. In the end, I sowed each one by hand on to the finished chain to try and make sure they would face forward when I hung them up. A bit slow to do but the task was made easier with my real Easter egg on hand!
I decided to use starch spray on the finished bunting and then I went around the house merrily trying out different positions to hang my latest creation! I do LOVE finishing a project!!
Me = very happy. The colours are so bright and cheerful. It’s definitely a happy, happy bunting. I often crochet and finish commissioned items and samples for my classes, but rarely do I seem to finish my own projects.
So Yay! Thank you blog! You are working as I wanted you to, giving me a creative outlet and a reason to change that!
Happy Easter everyone! x

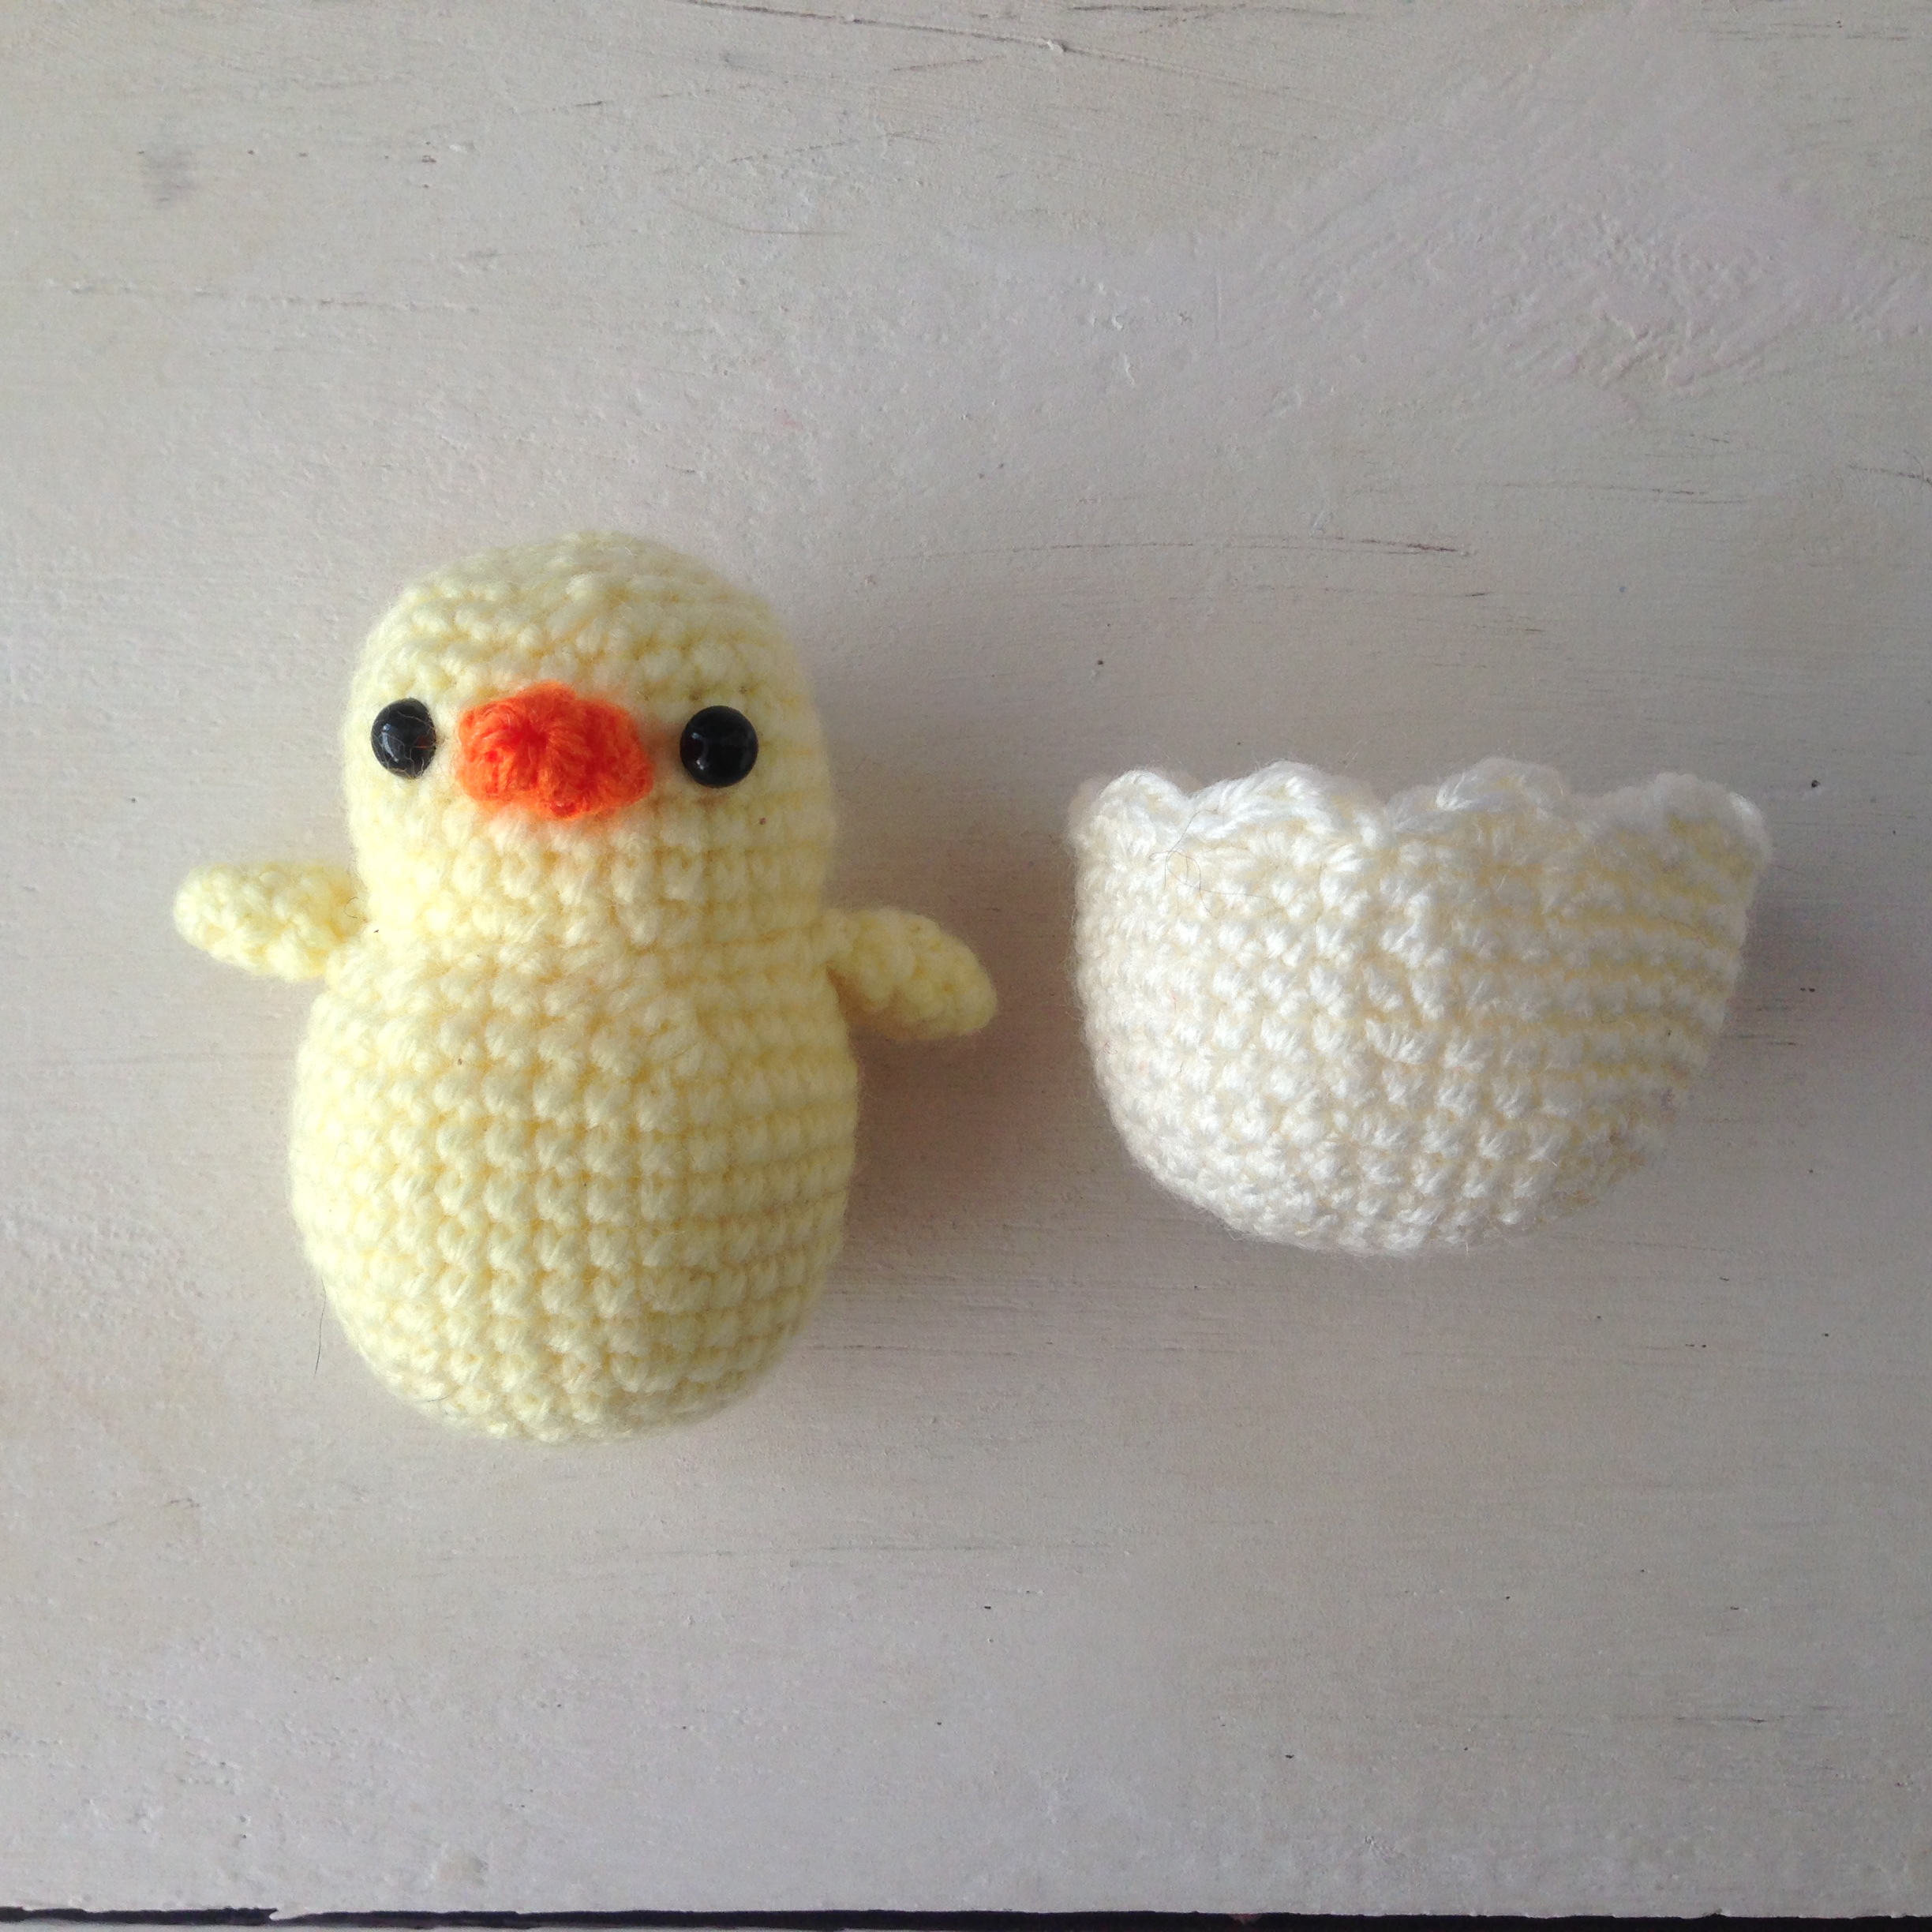
 Ta dah!
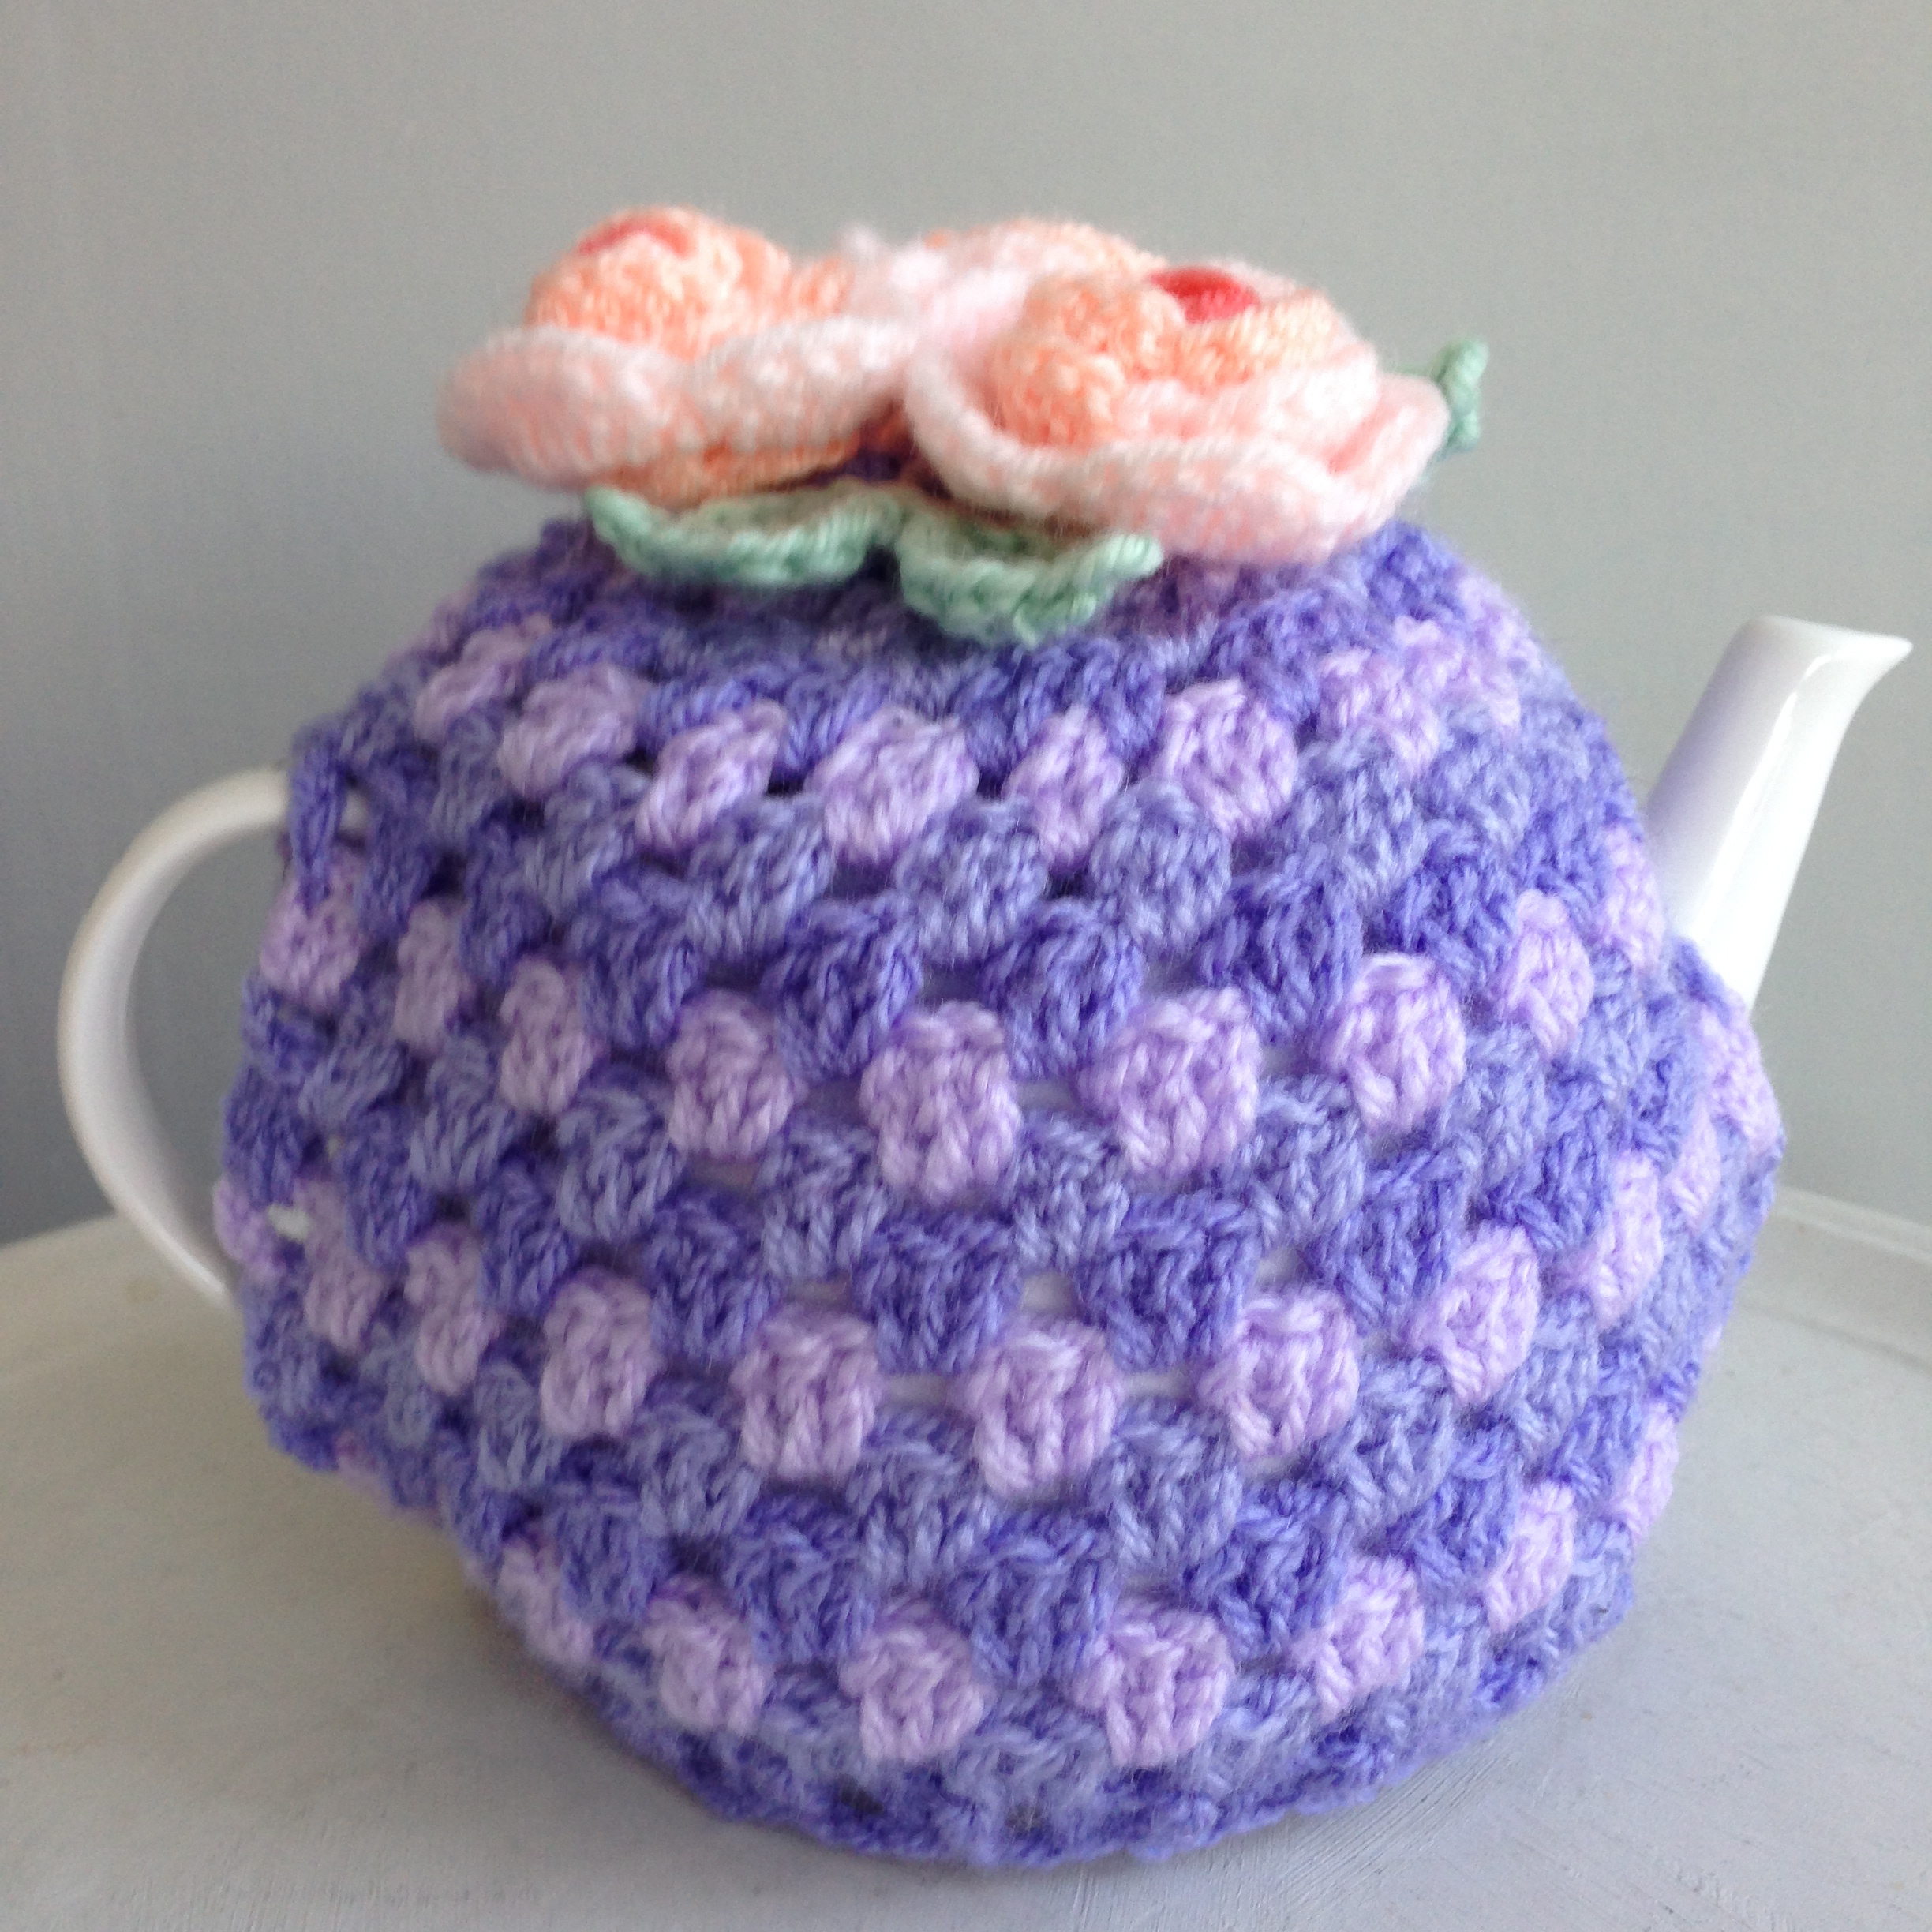


